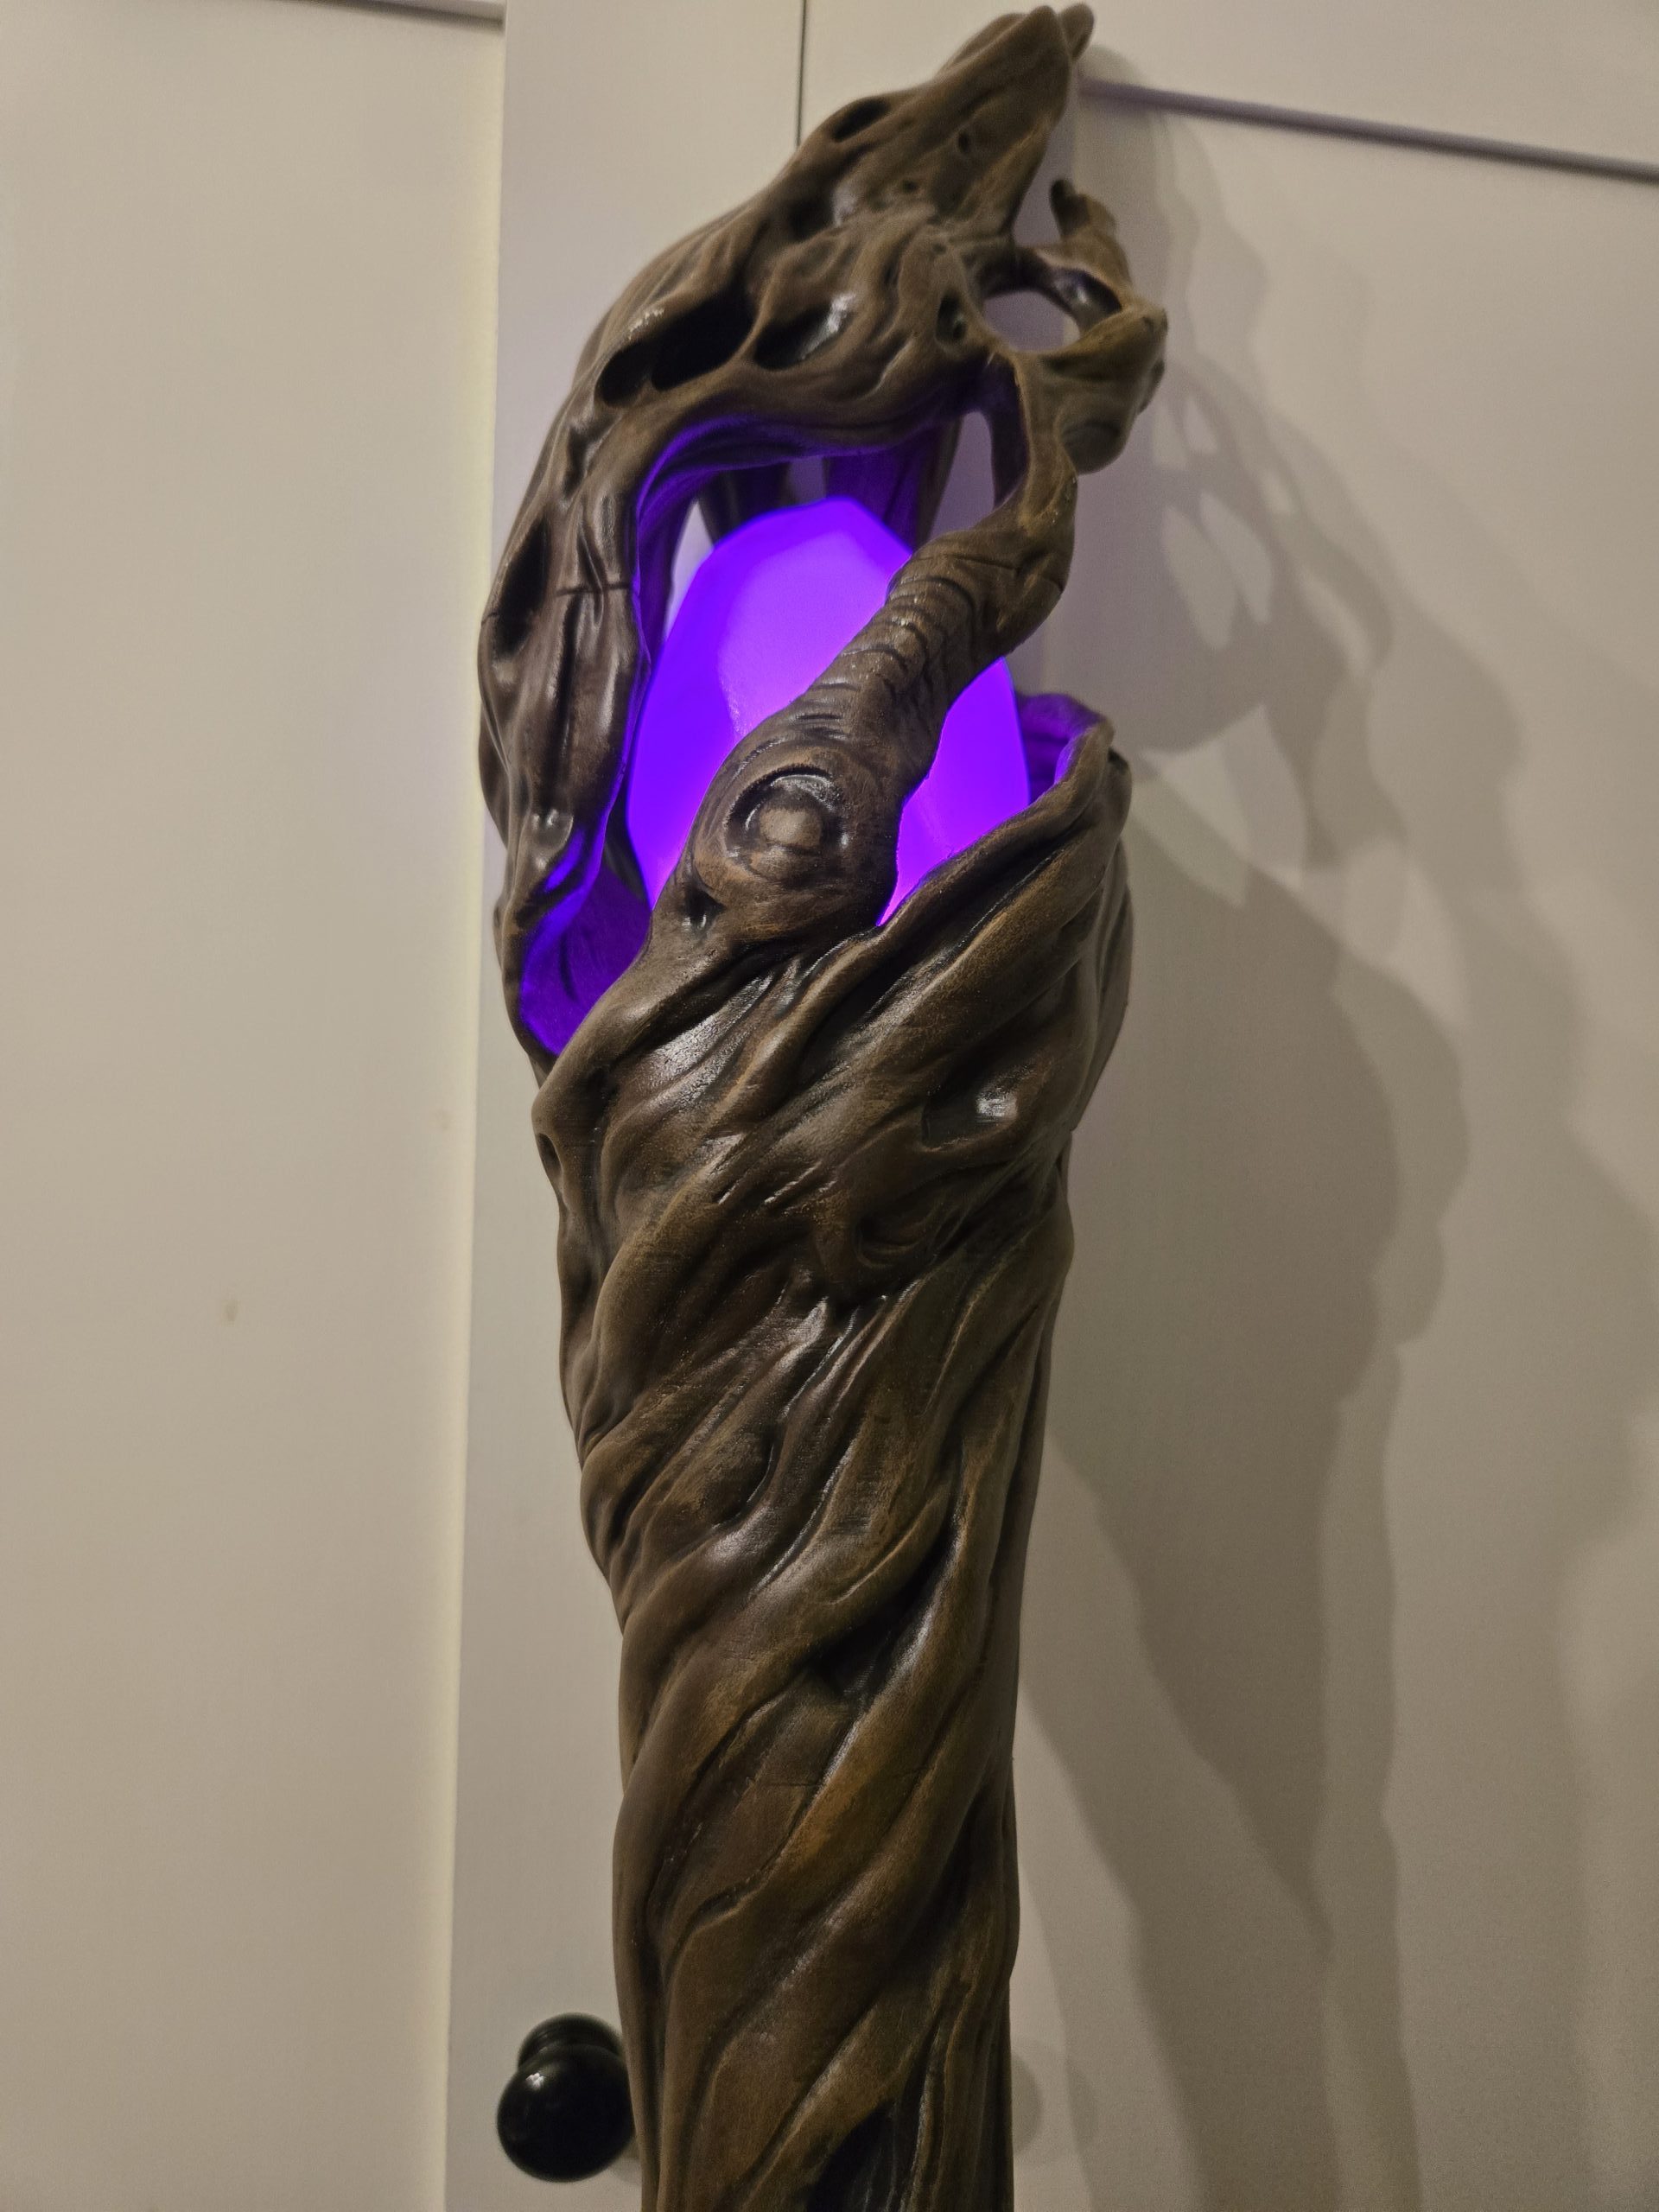
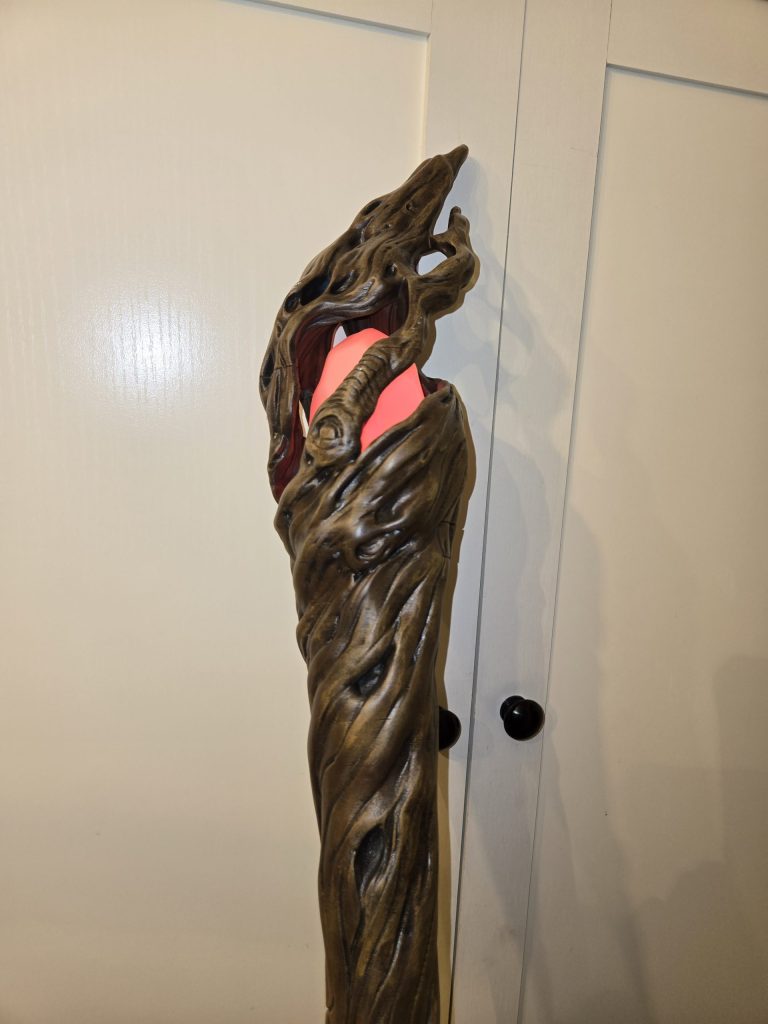
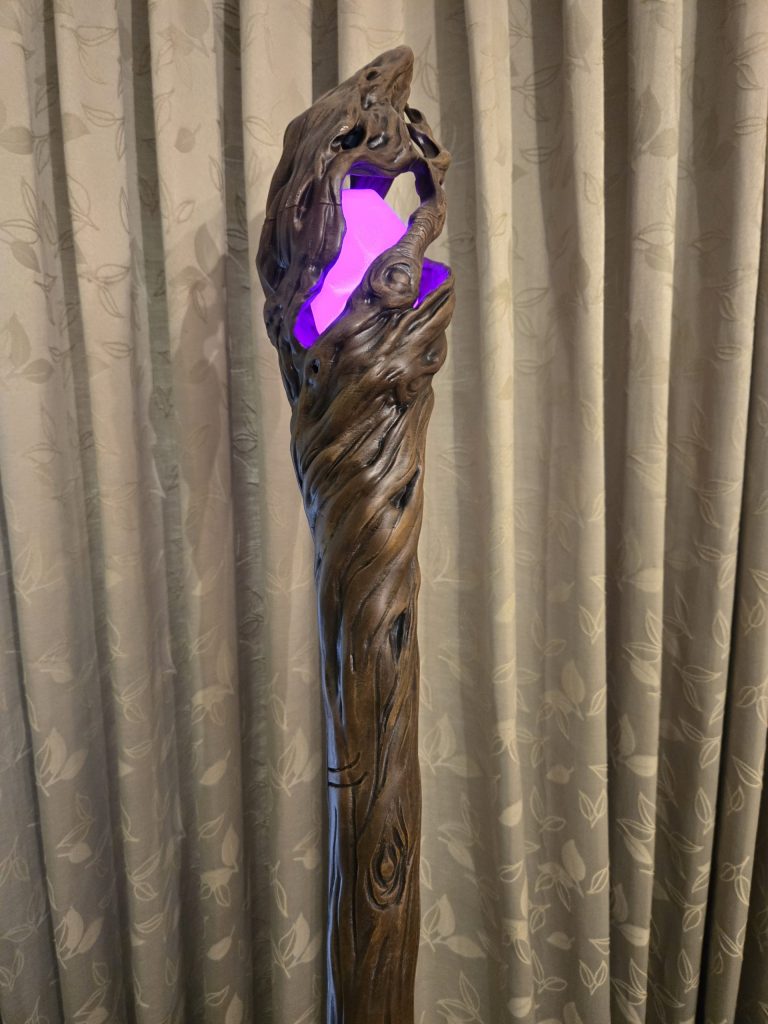
So I’ve always loved the look of a wooden staff, especially Gandalf’s staff from Lord of the Rings. So this week I decided to make my own. So after some searching I found the perfect free model here.
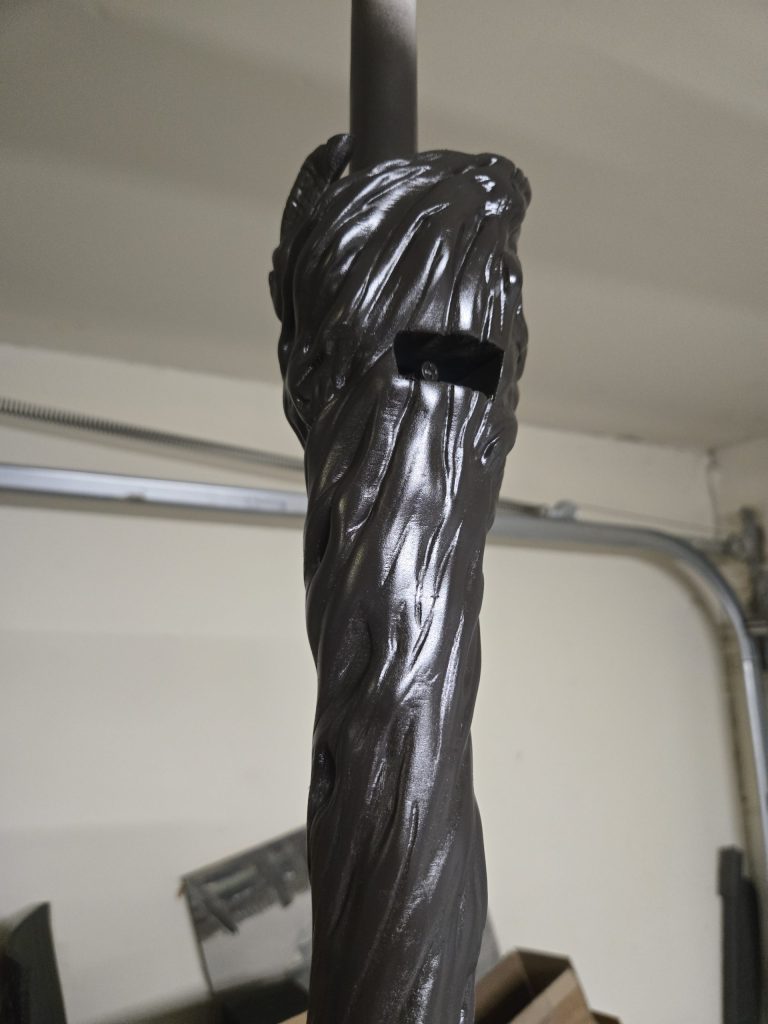
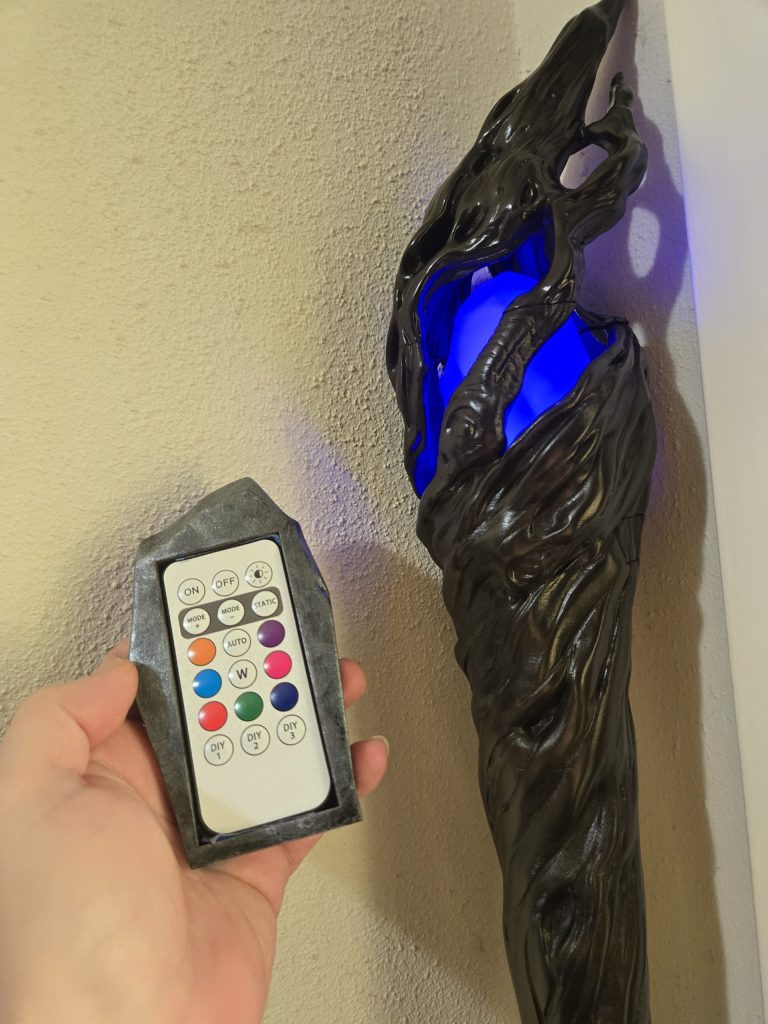
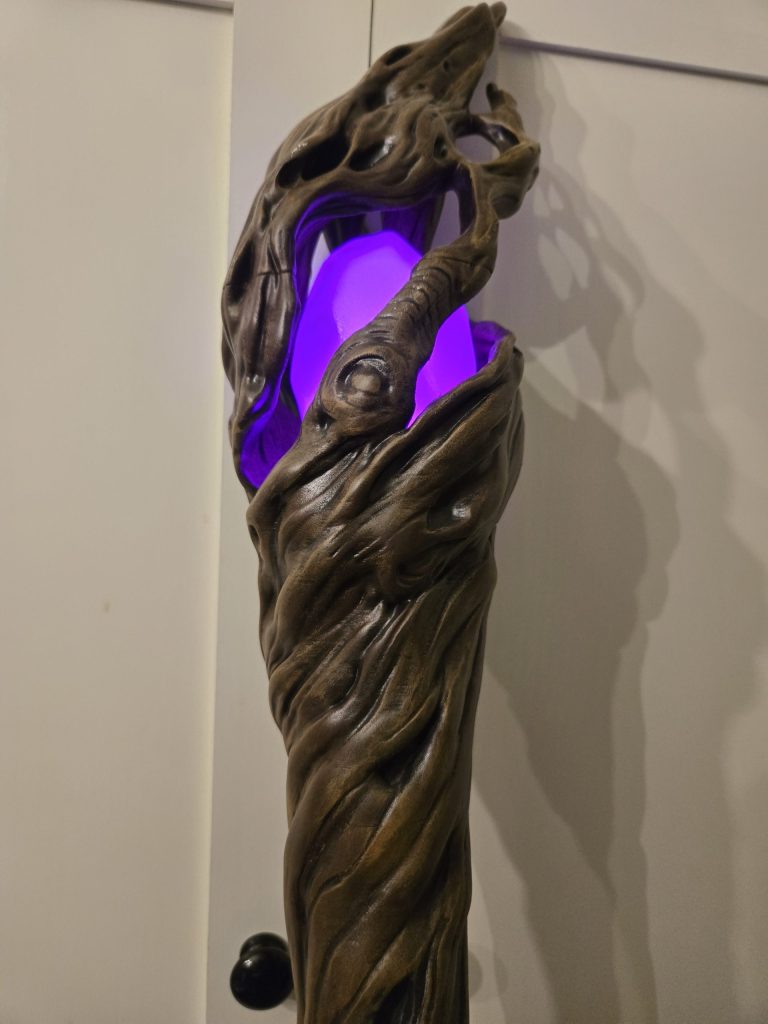
However this time I didn’t feel like doing all the typical wiring, programming etc. Just more time than I wanted to spend. Instead I figured out a better way to accomplish the same thing by using premade lights and cutting out a drawer in the model that I can easily take out as needed. So before I started 3D printing all the parts I cut a little drawer into the model, added some holes for magnets and a hole for a remote controlled LED light, and now I have a remote controlled light that i can easily replace for charging. It also came with 4 lights so i can have them all charged and just switch them out as needed. Nice and simple.
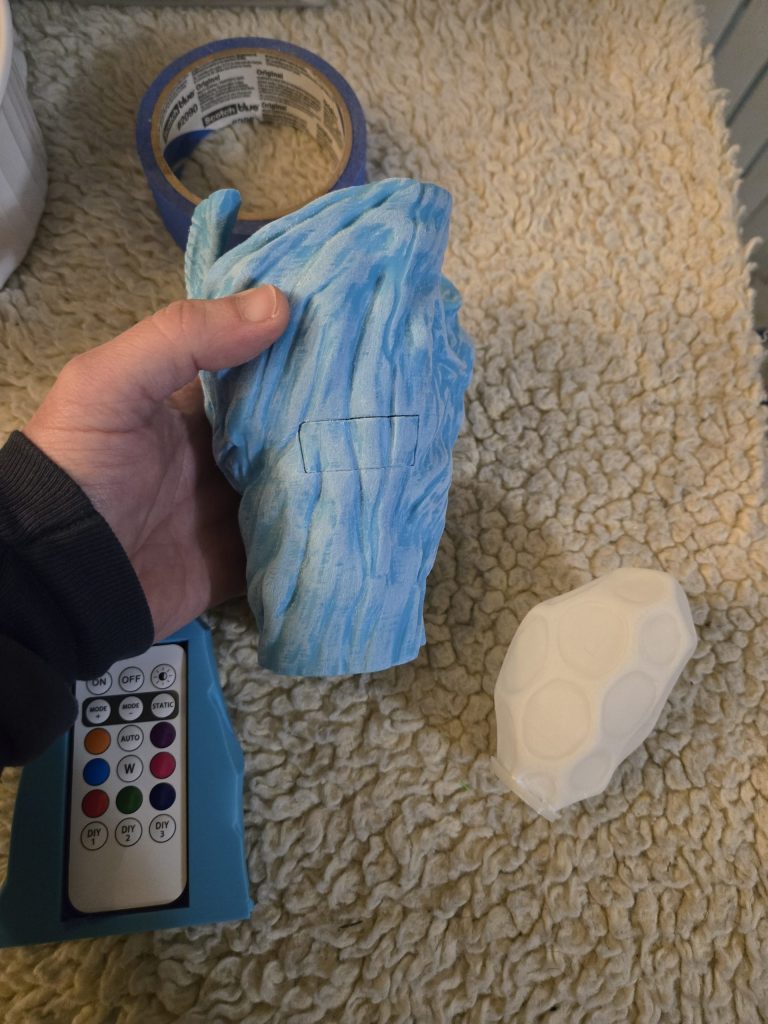
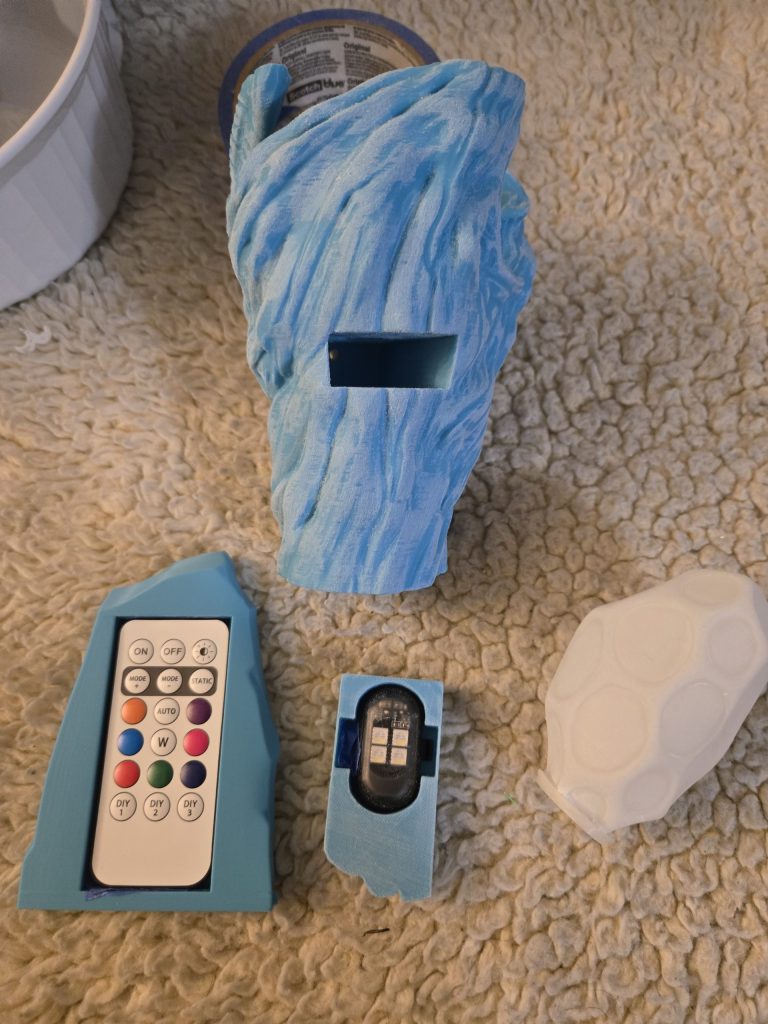
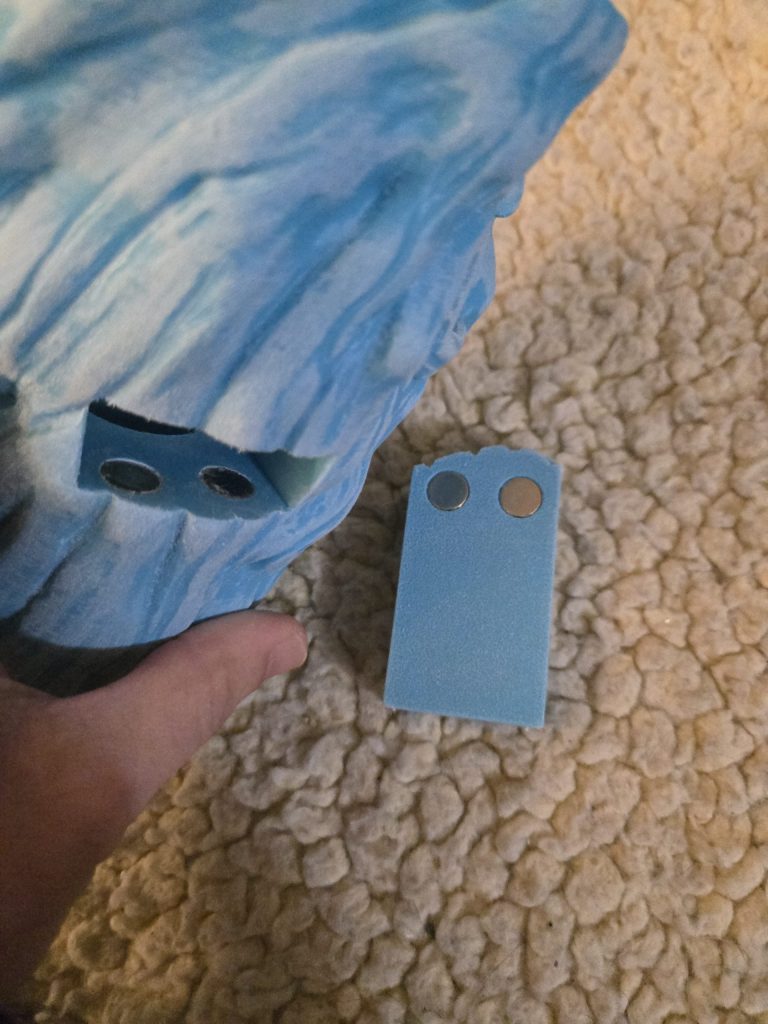
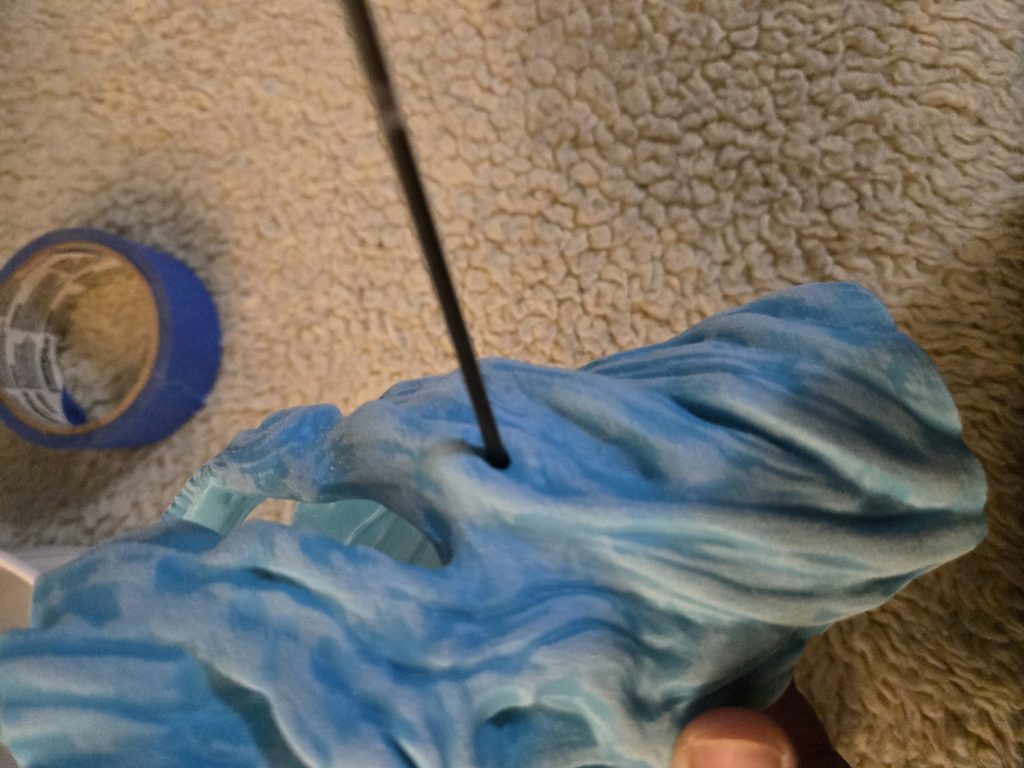
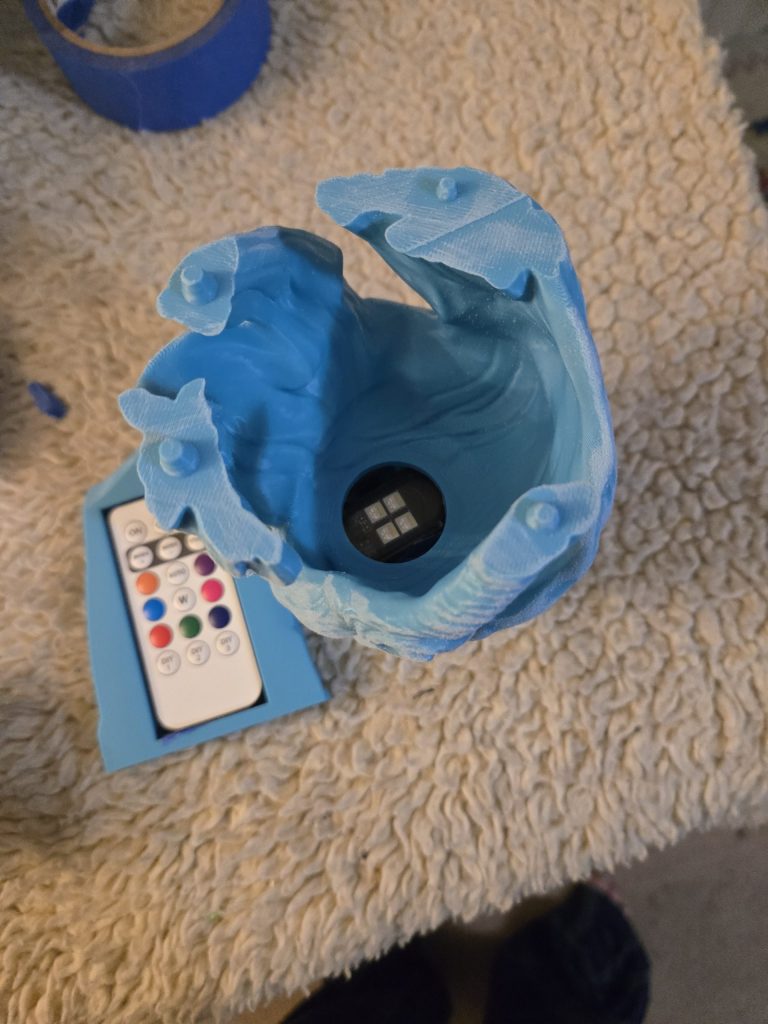
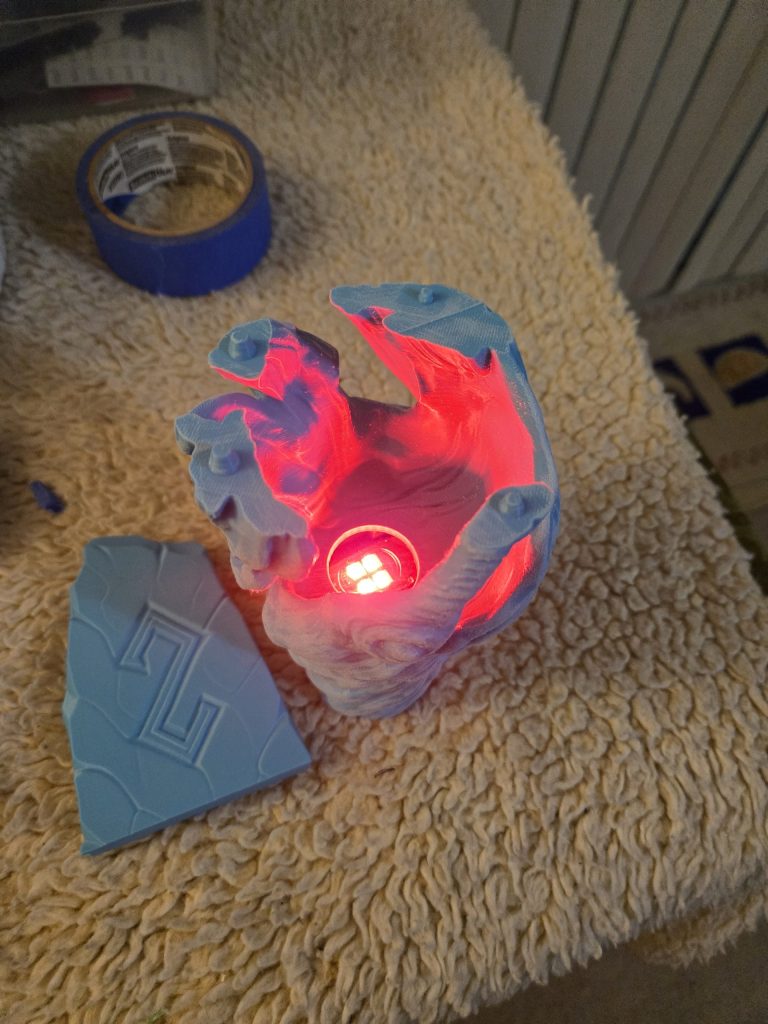
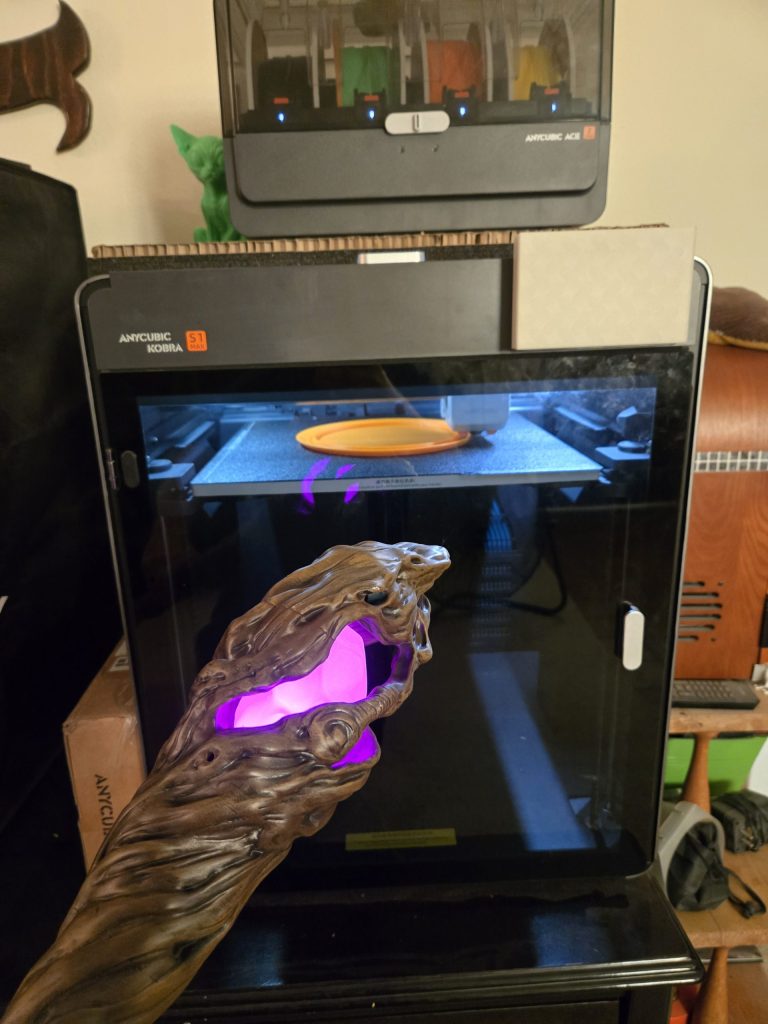
Now that all the parts are printed on my Anycubic Kobra S1 Max and my Kobra 4 I can start gluing, sanding and fixing the seems. I didn’t want to use filler primer because it sticks up the house and I still have to sand so I just used my mini file set along with 150, 220 and 400 grit sandpaper. Hitting the tough spots with the files and then the entire thing with the others working up in grit. You can go higher but honestly this was perfectly fine and came out great. The blue was an awesome color and I almost kept it that way but wanted the full wooden look this time around.
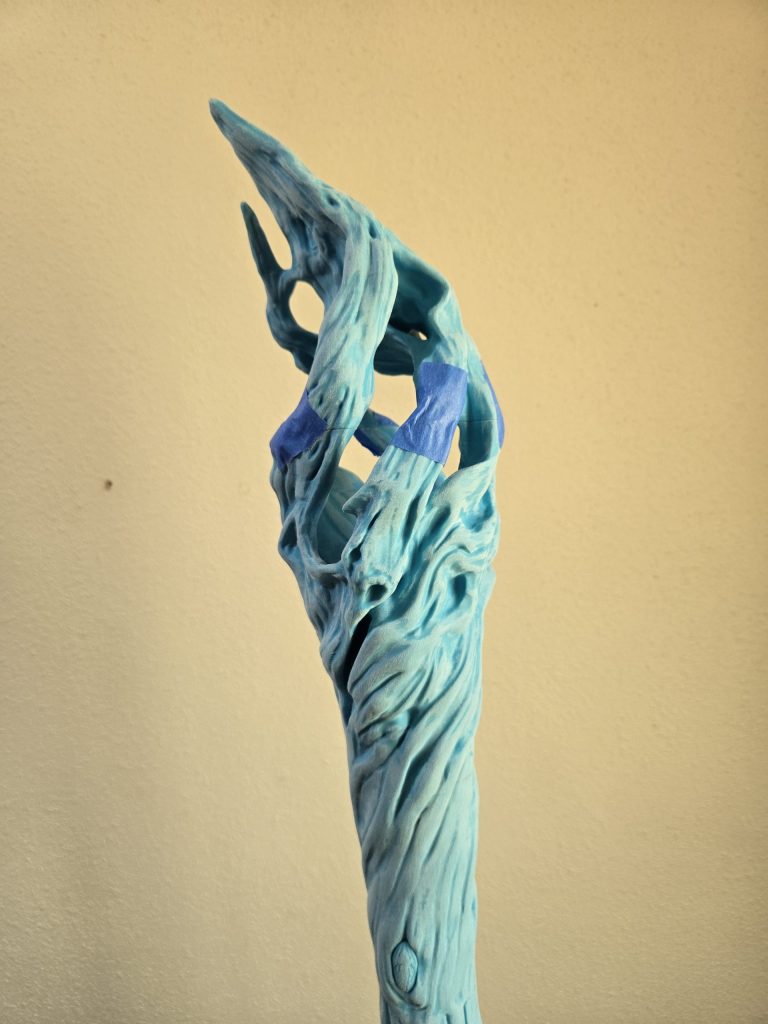
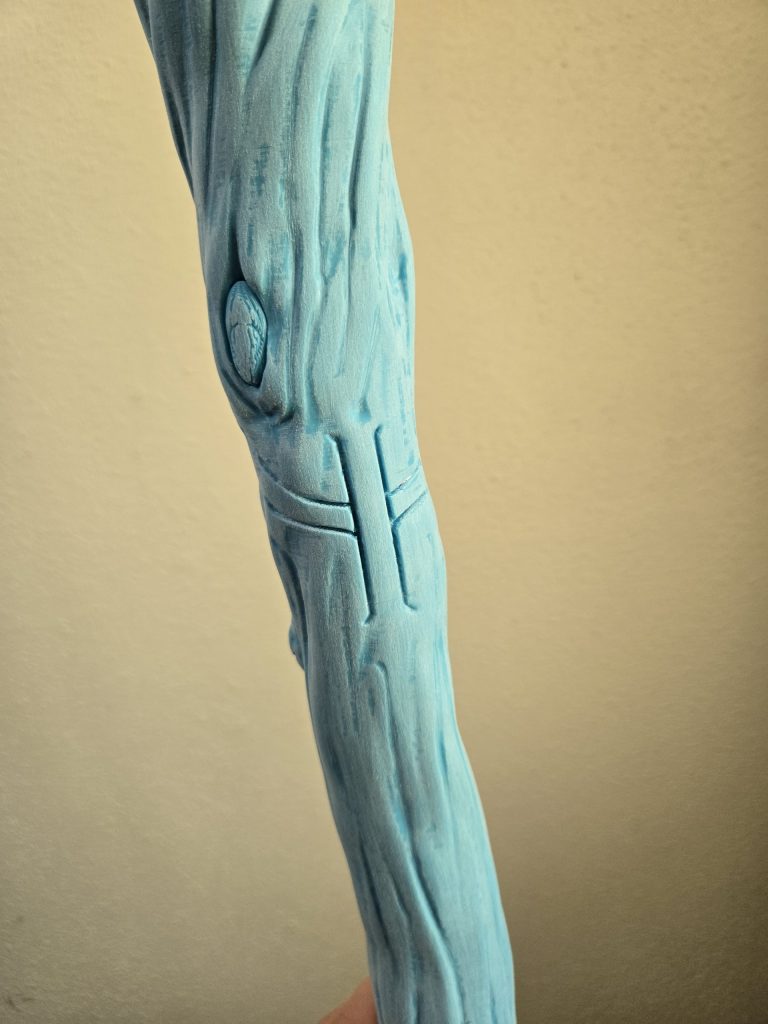
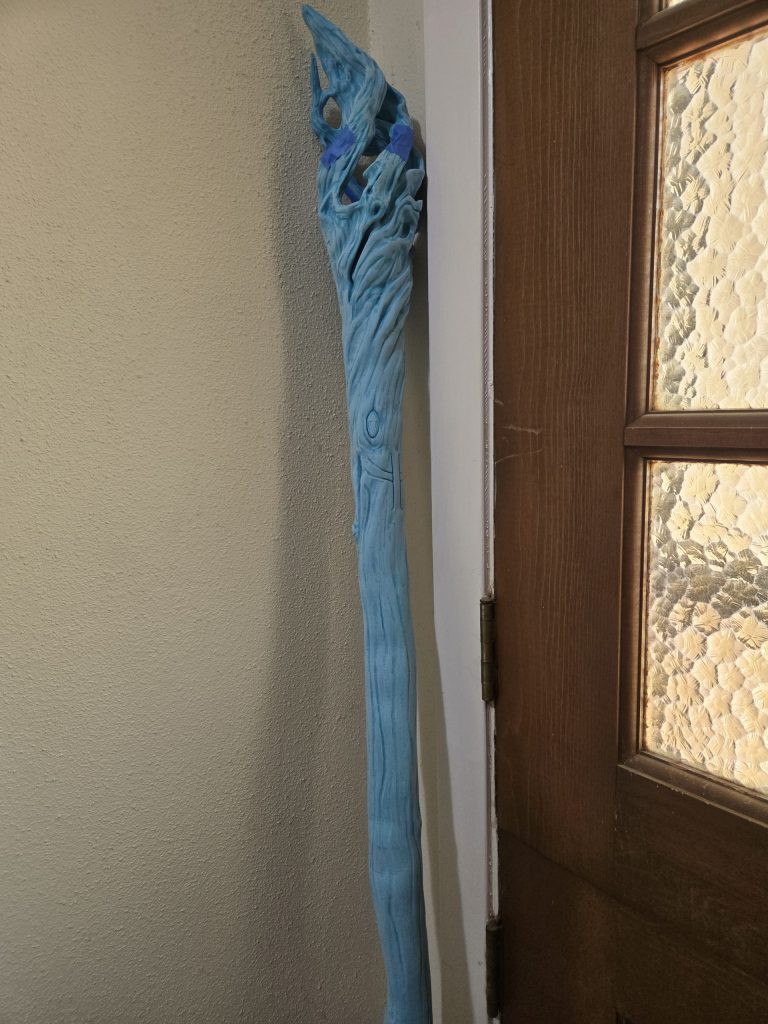
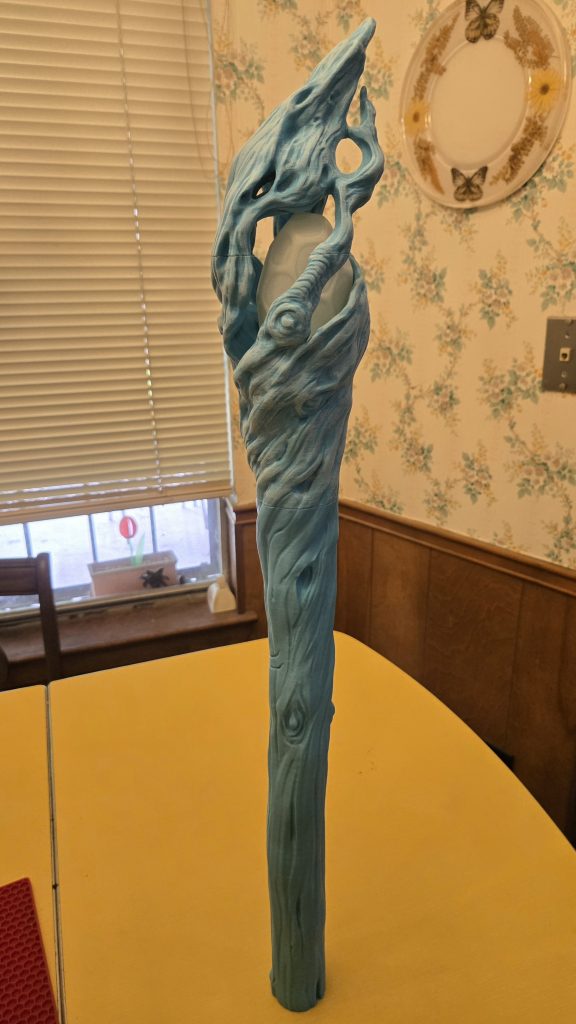
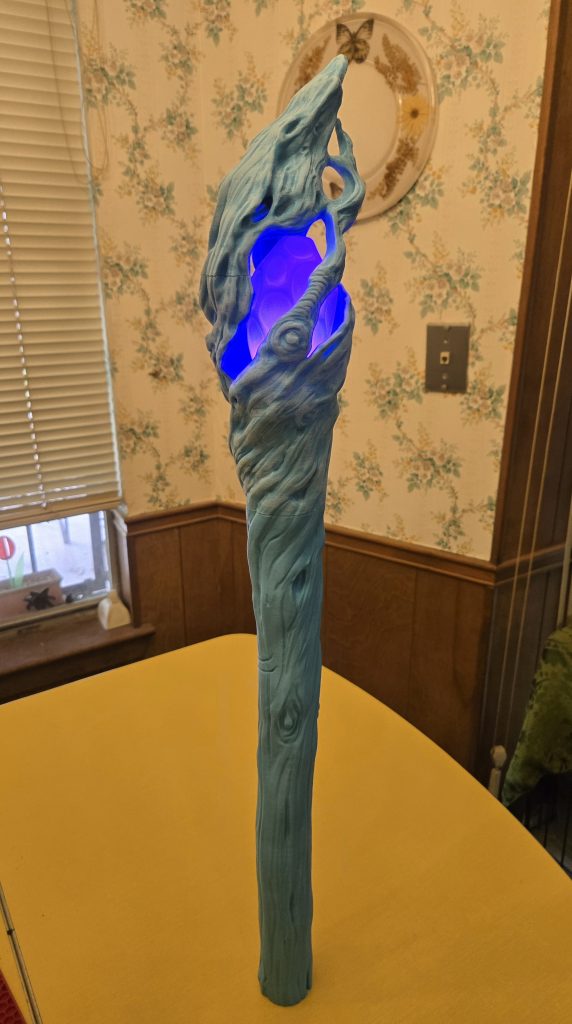
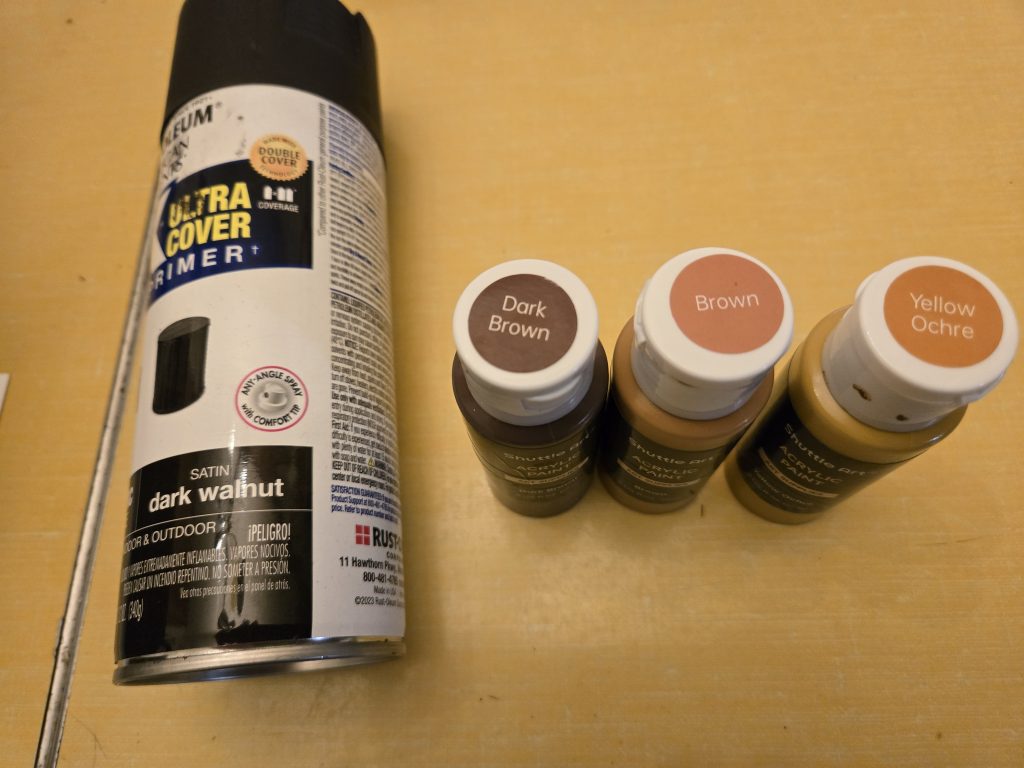
Now were off to paint. I used a dark walnut paint and primer for the base which gave it a nice deep dark tone. Then, after fully drying, I took a dark brown acrylic paint to cover the whole thing pretty well but making sure I left the deeper regions alone, kinda like dry brushing and hitting the high areas and leaving the deep ones. Keeping the strokes in the same direction of the wood and blending in softly. After letting that dry completely I took the lighter brown acrylic paint and using a soft brush i dry brushed all the higher points and just places that might have natural wear. making sure to go with the grain and blending in. If you make a mistake or something isn’t looking right you can always go back over after it dries with the dark and then light again to blend in and fix. Once that done Ill dry again and go over one more time with the yellow brown acrylic for more highlighting. making sure to blend and stay in the same direction. It kinda paints itself after a while and you get the groove.
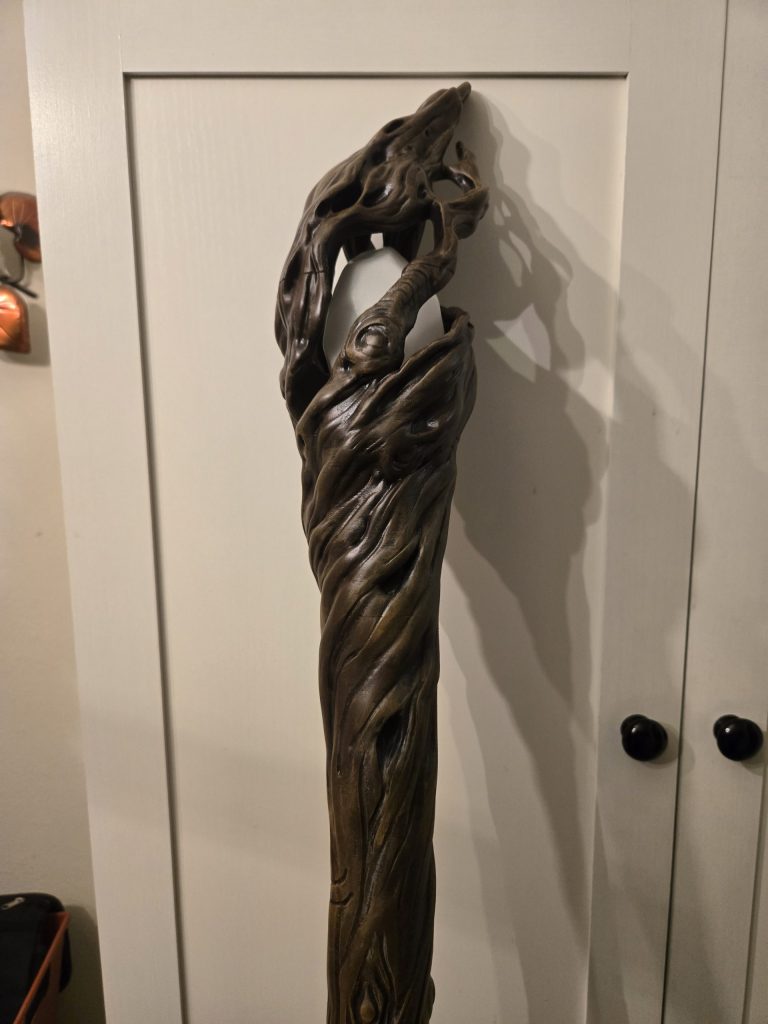
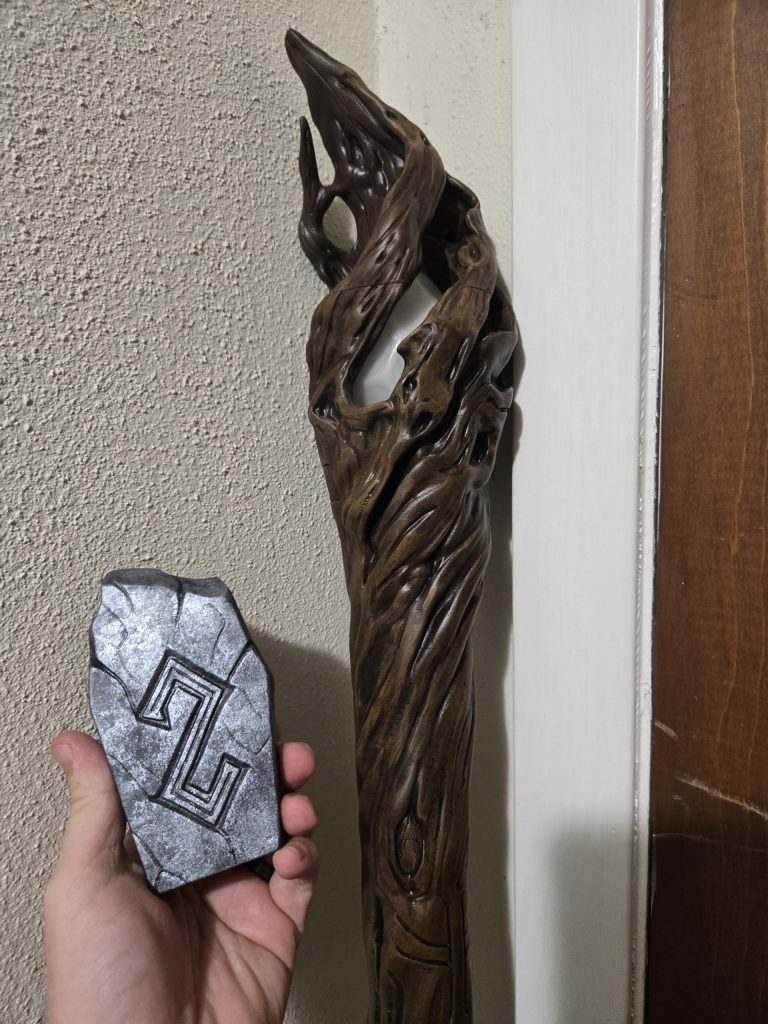
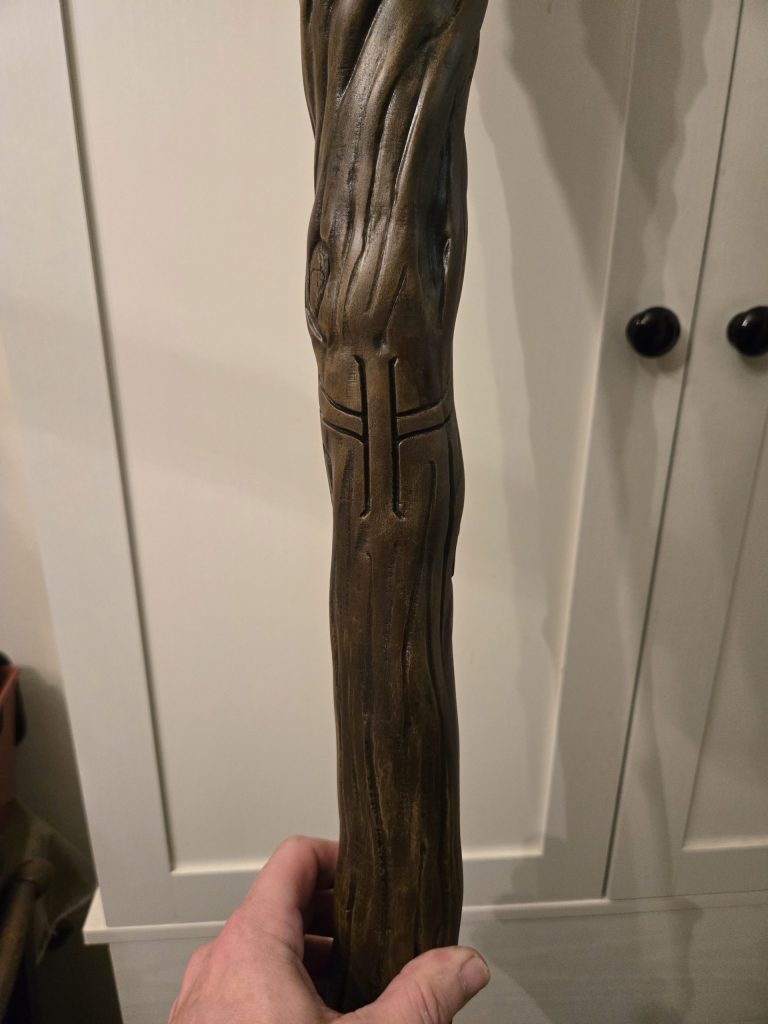
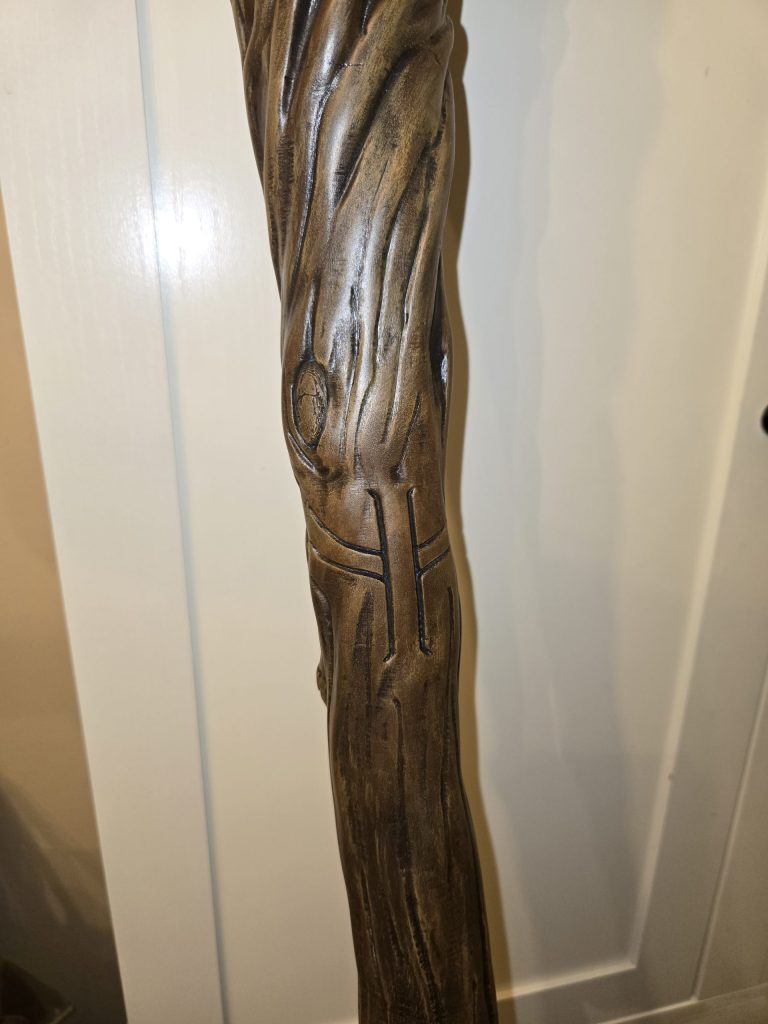
So that’s about it, Not too much work and comes out really great. Pics of the paint colors I used below and a full list of supplies I used at the bottom of the page.
Happy Printing Everyone!
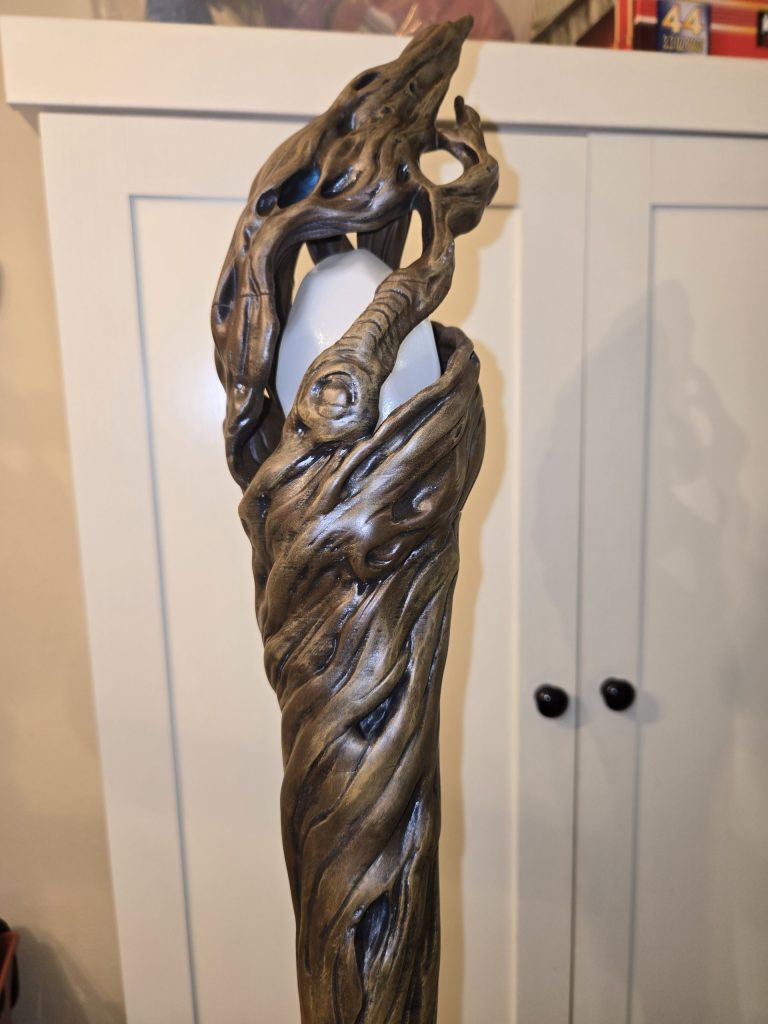
Here is a list of parts/supplies I used with affiliate links. If you buy something I might make pennies…Yeah me…you have been warned
Supply List