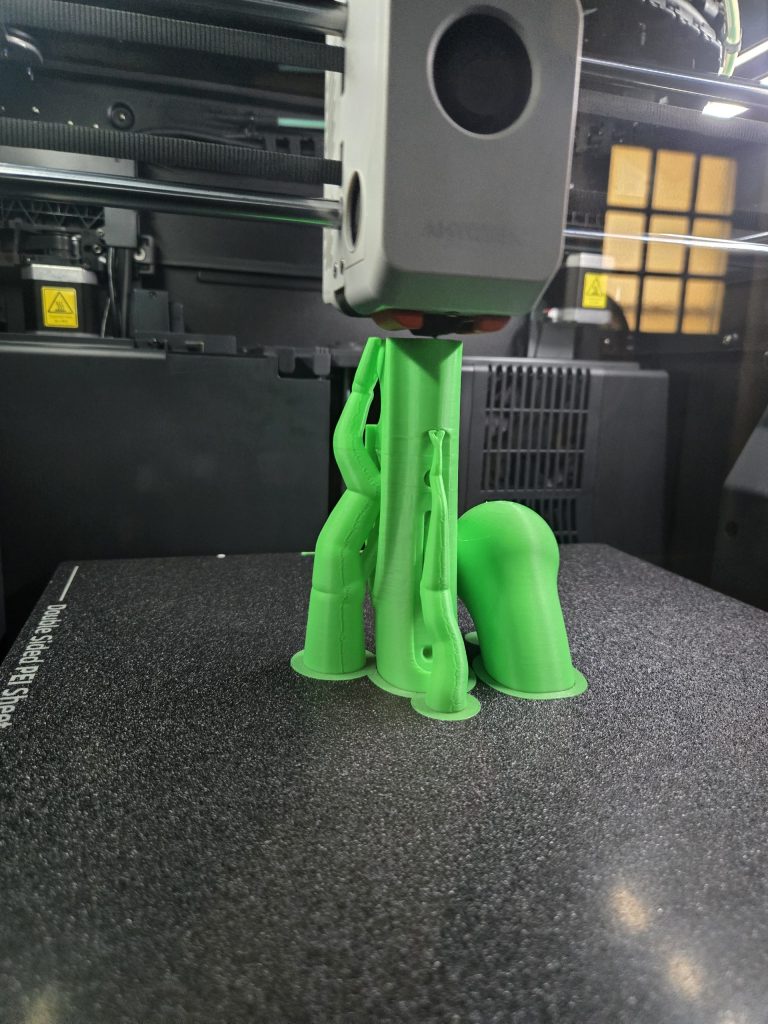
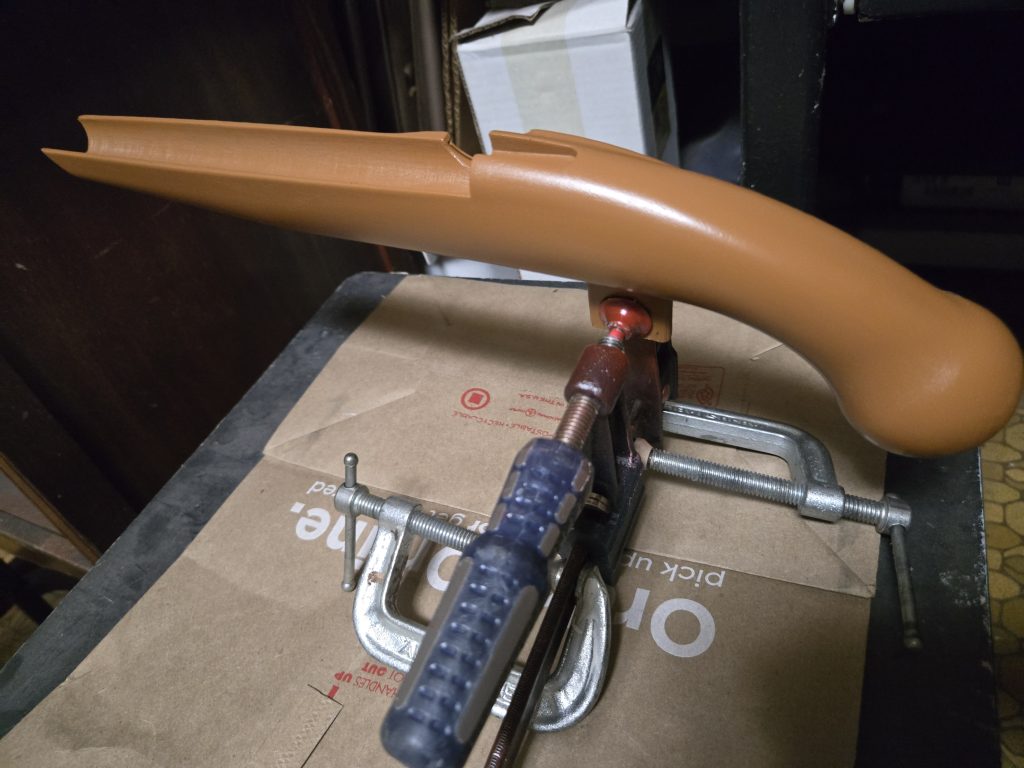
This week I decided to print my father, who loves to collect guns, this really wonderful model of an antique flintlock pistol. Link below
https://www.printables.com/model/1008648-flintlock-pistol-prop-with-functioning-action
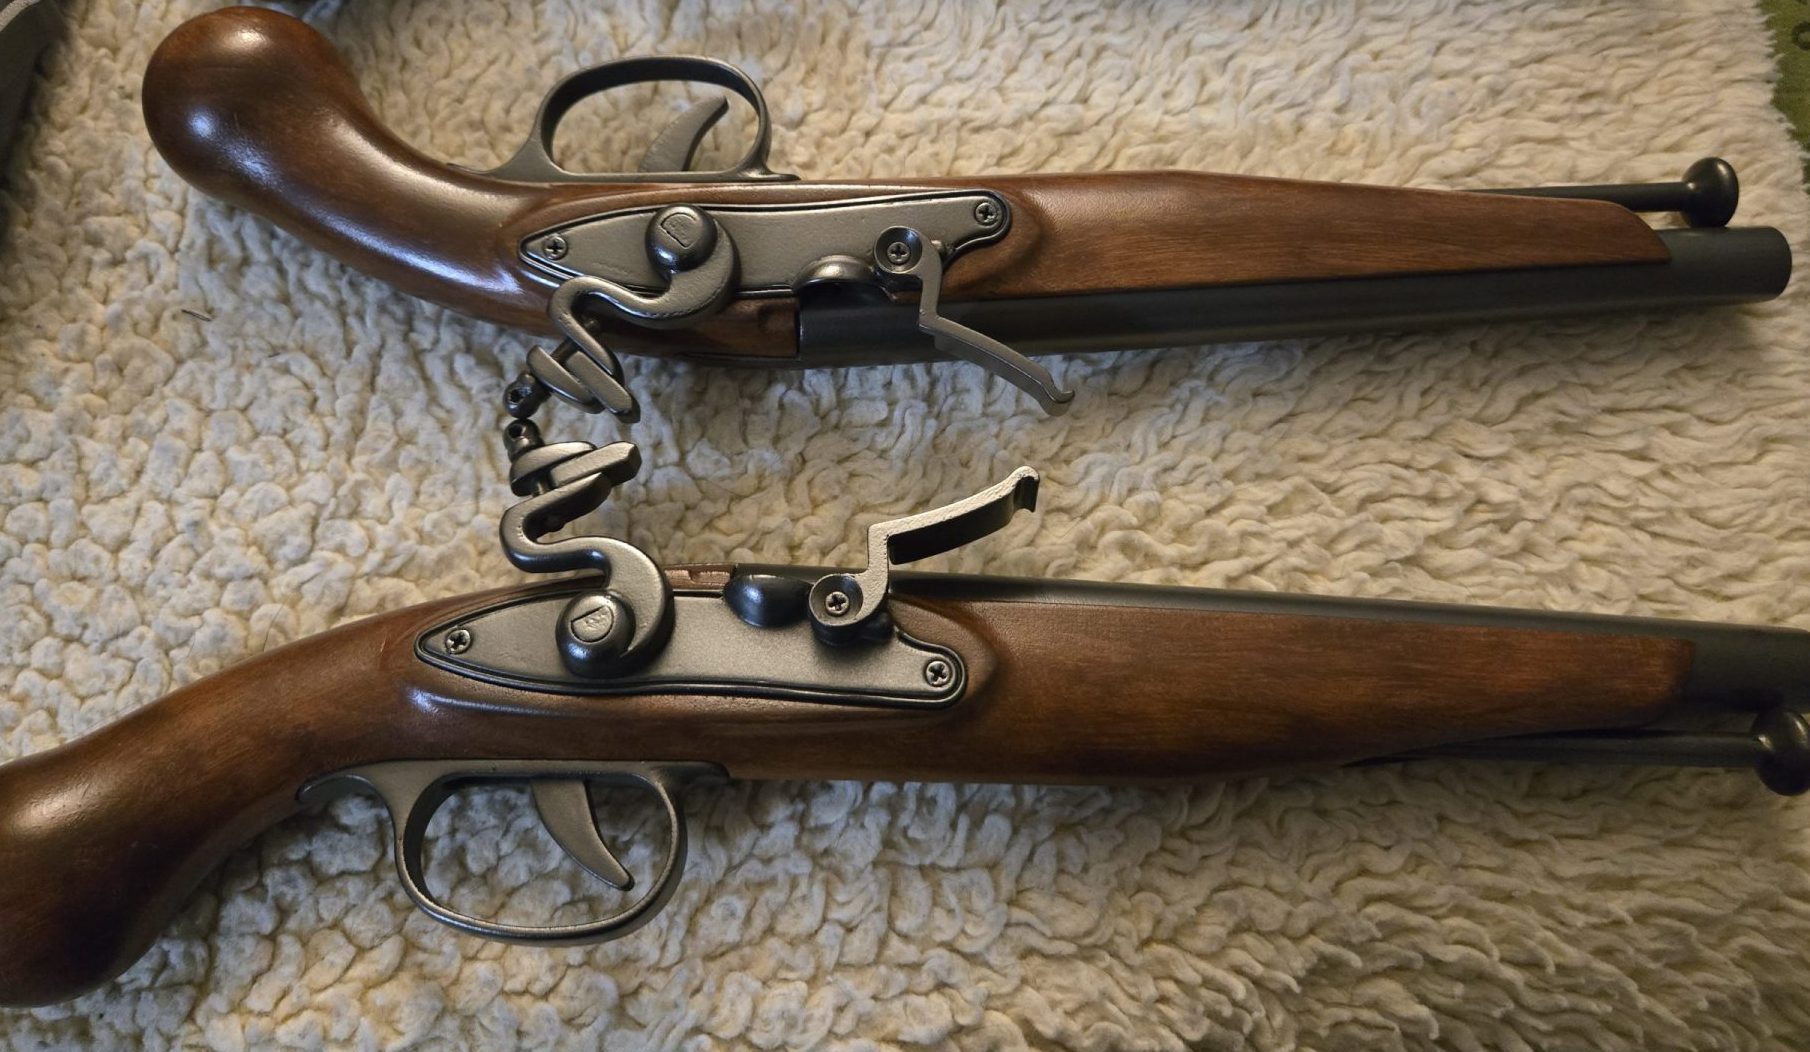
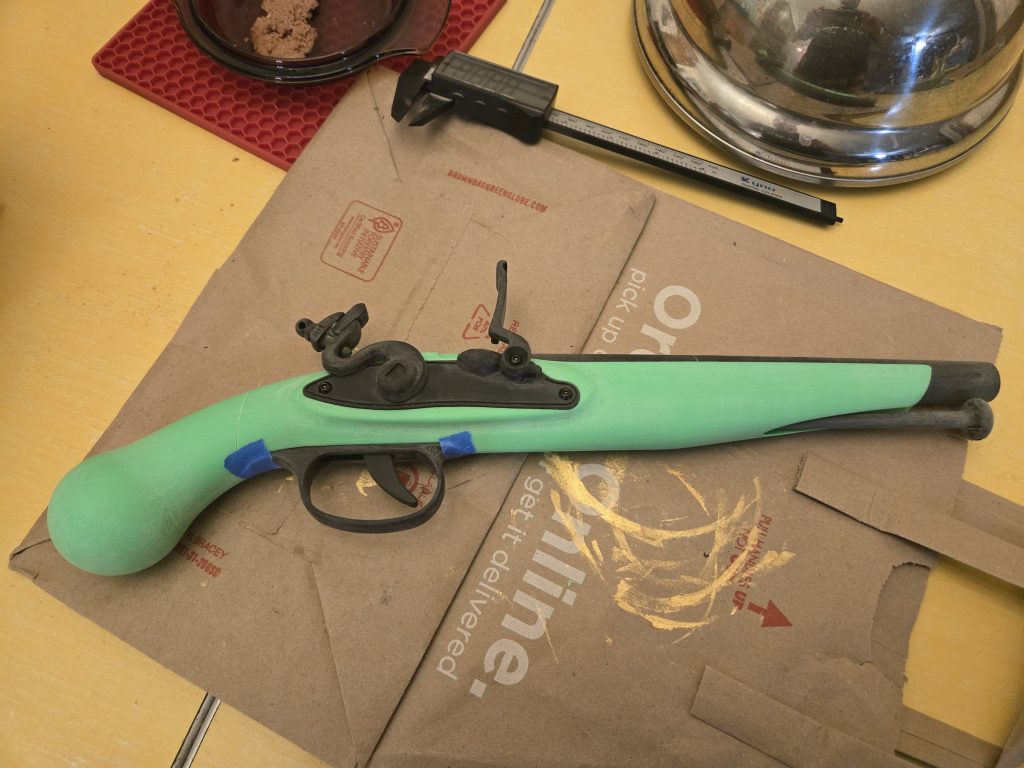
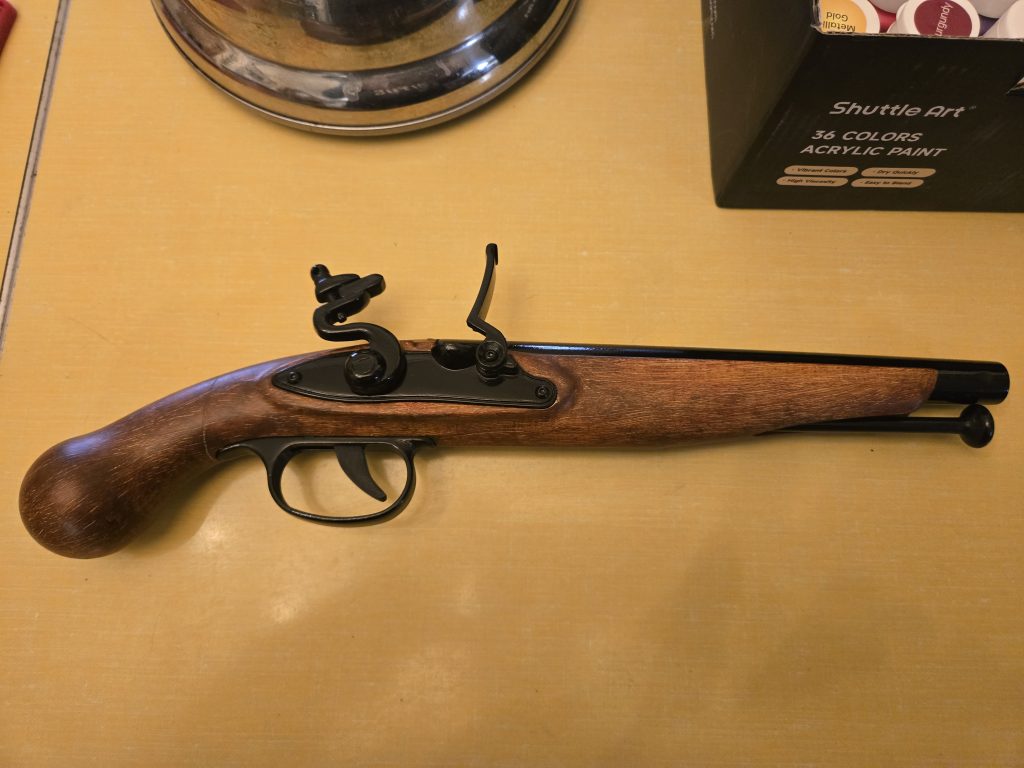
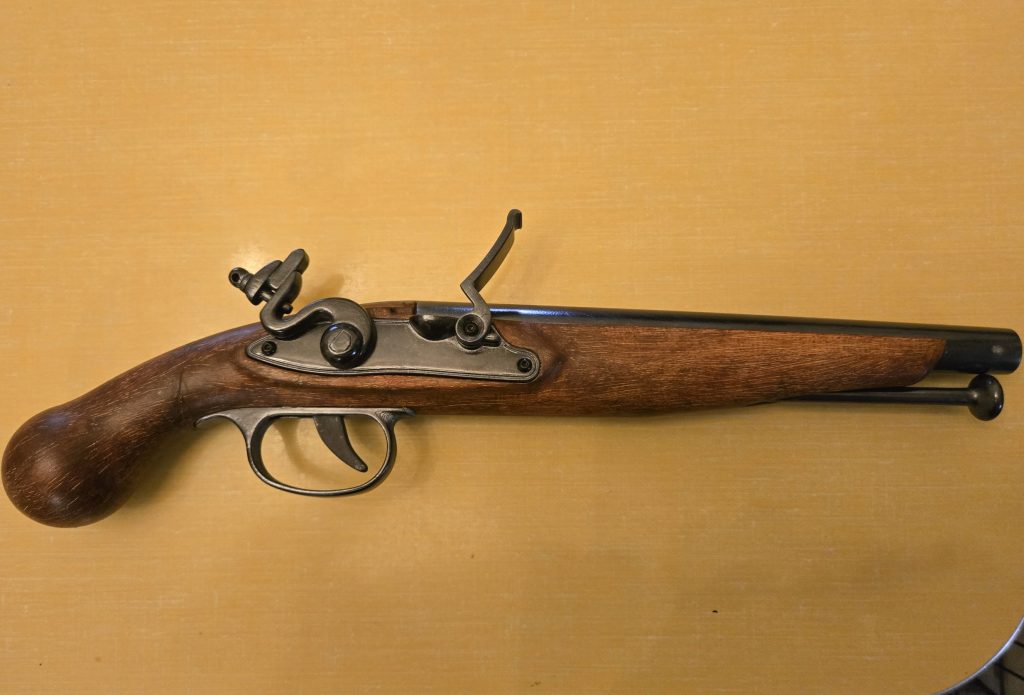
It turned out so well that I have had people asking me how I did it. So I decided to do a quick write up with visuals and links to what I used. See how I went from a cool neon green and black 3D printed space pistol into a realistic looking antique prop ready for your next renaissance fair.
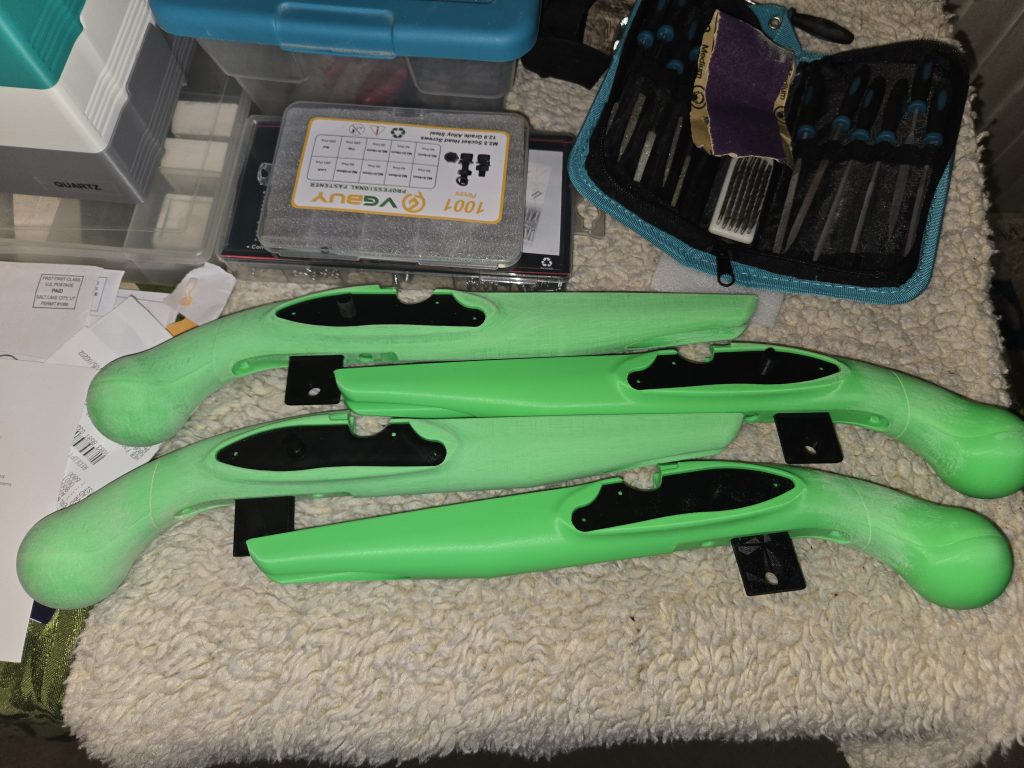
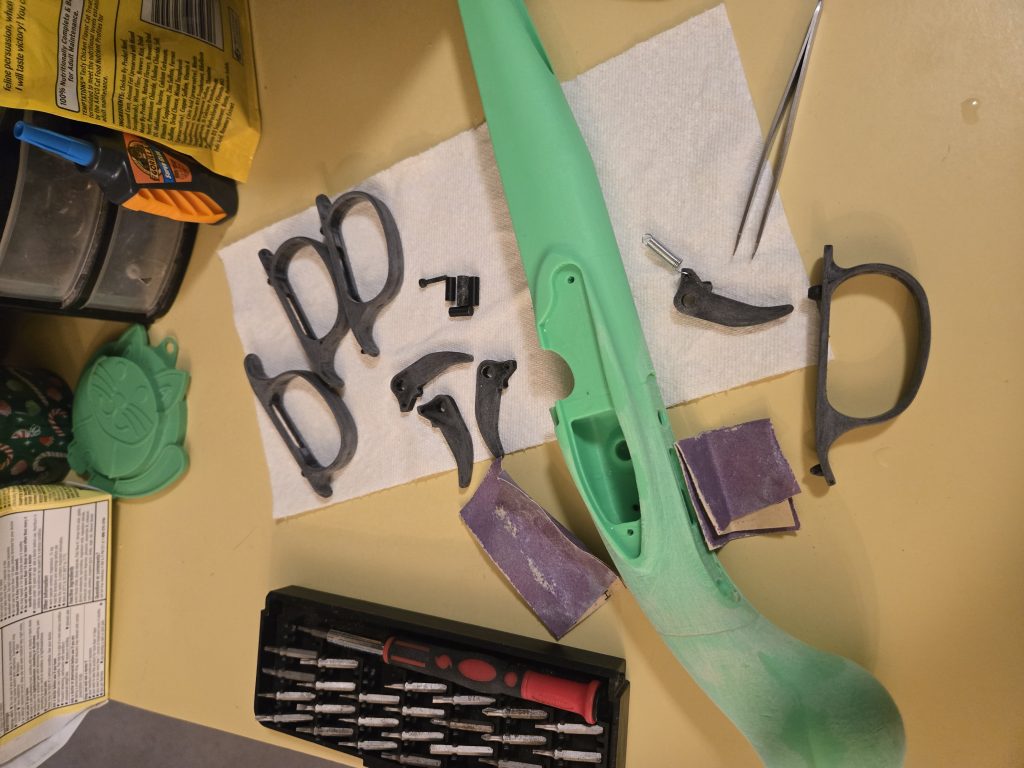
So once we sand it, and sand it again, and sand it again with various grits starting at 120, 220, 300 for the stock and then added more wet sanding for the metal parts 400, 600 and 800. Can go as far as you like or even do less. Its your call you just want a good smooth surface for painting and the more you do the better the finish.
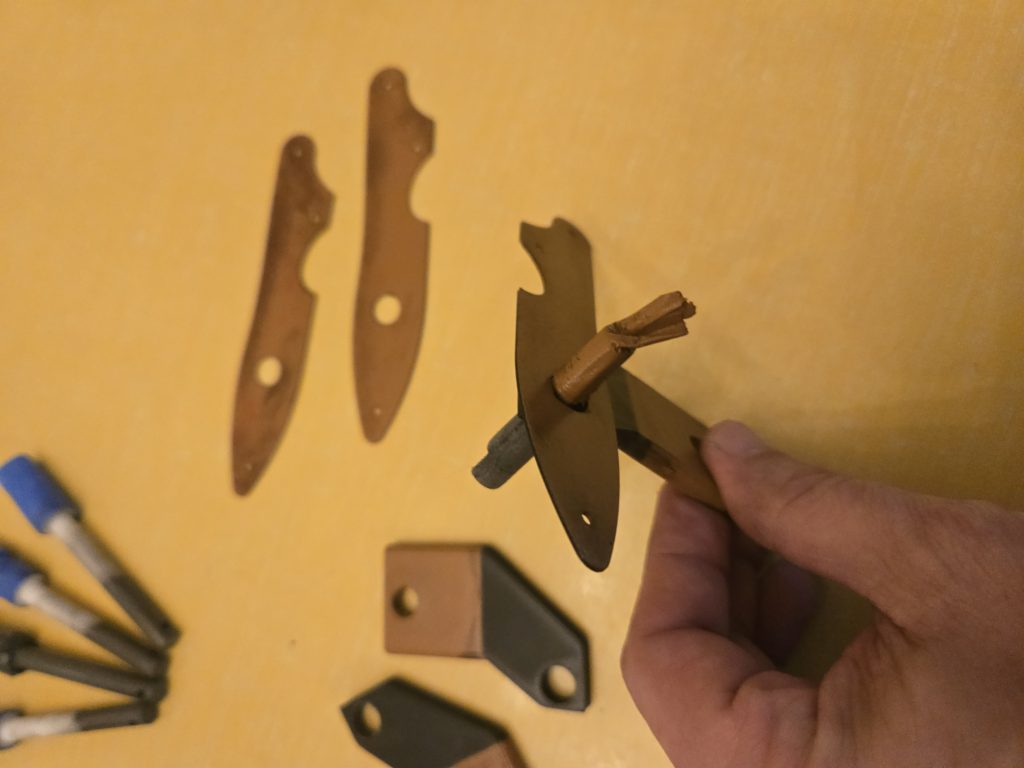

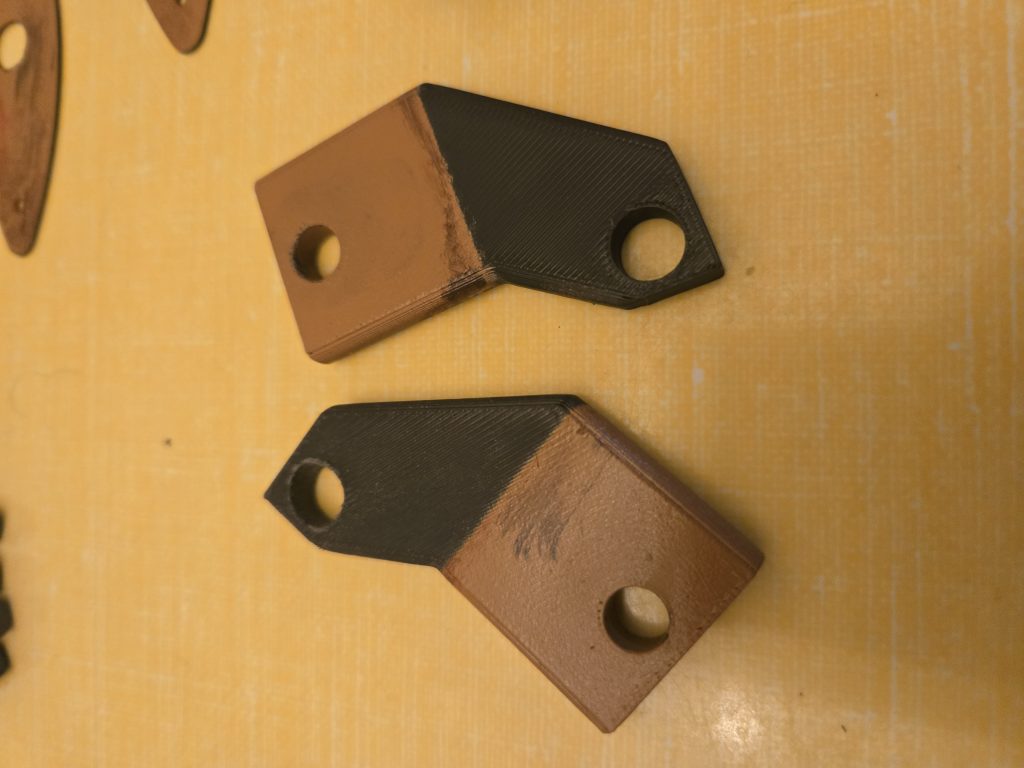
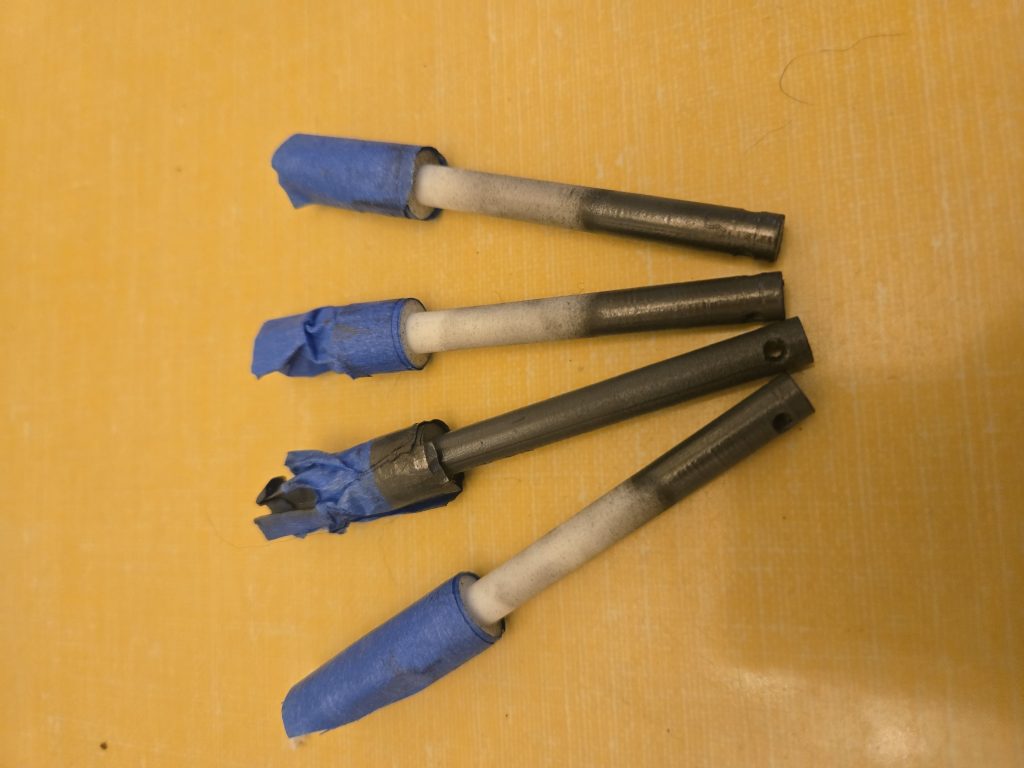
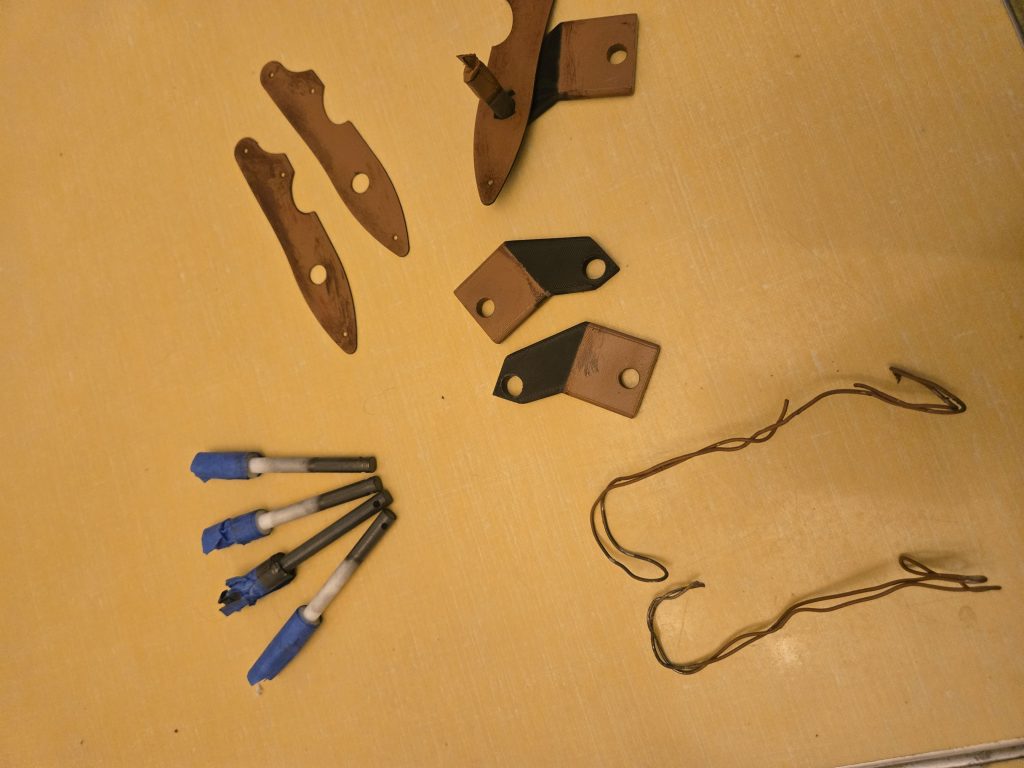
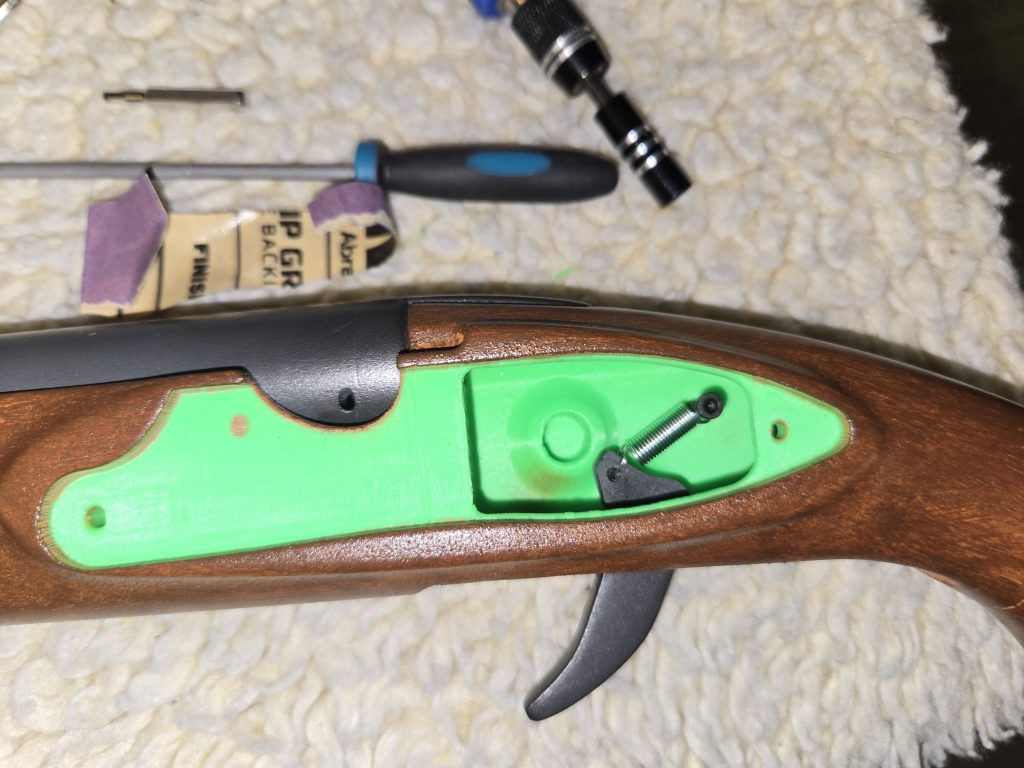
Next it’s time to paint. Make sure you have a clean/dry surface, a well ventilated area and plans on how your going to hang things for painting/drying. I designed several painters helpers One cover plate, a hook plate that locks into place with existing peg and a tube to hang the barrels. Link below
Flintlock Pistol: https://www.printables.com/model/1707251-flintlock-gun-painter-helpers
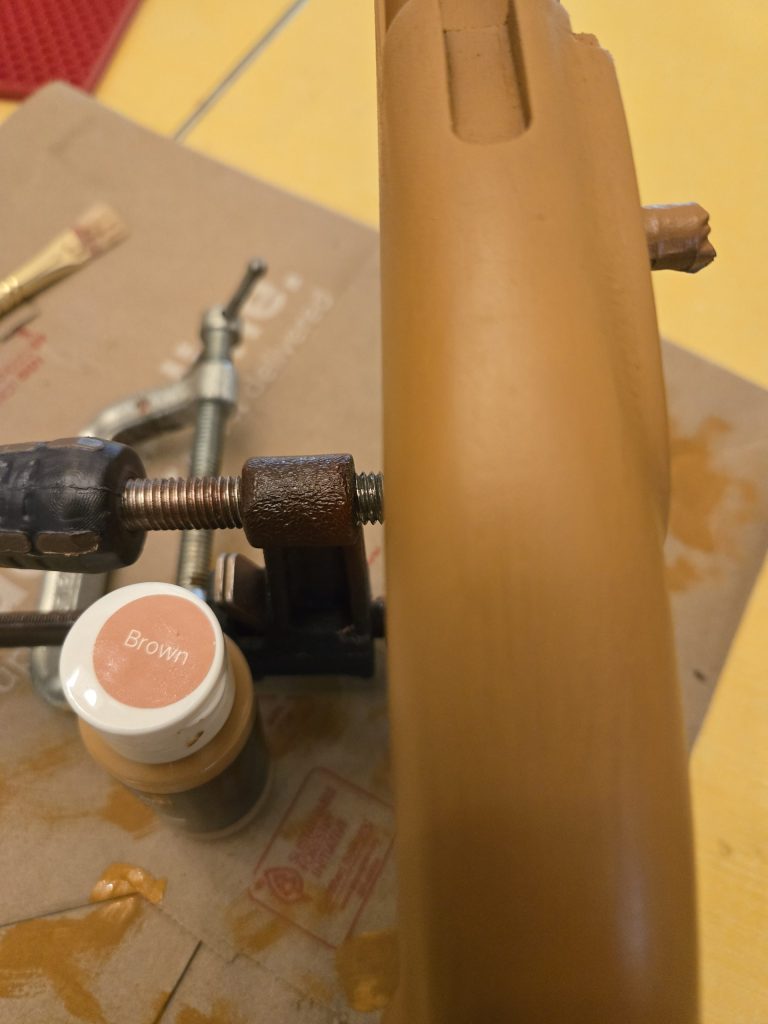

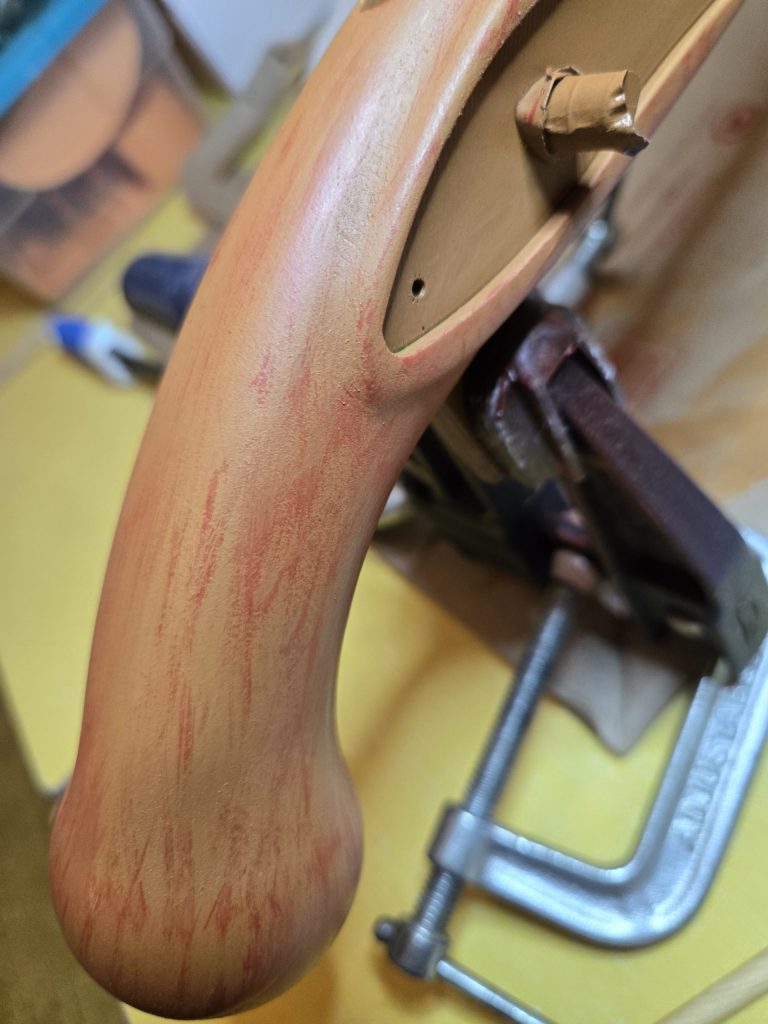
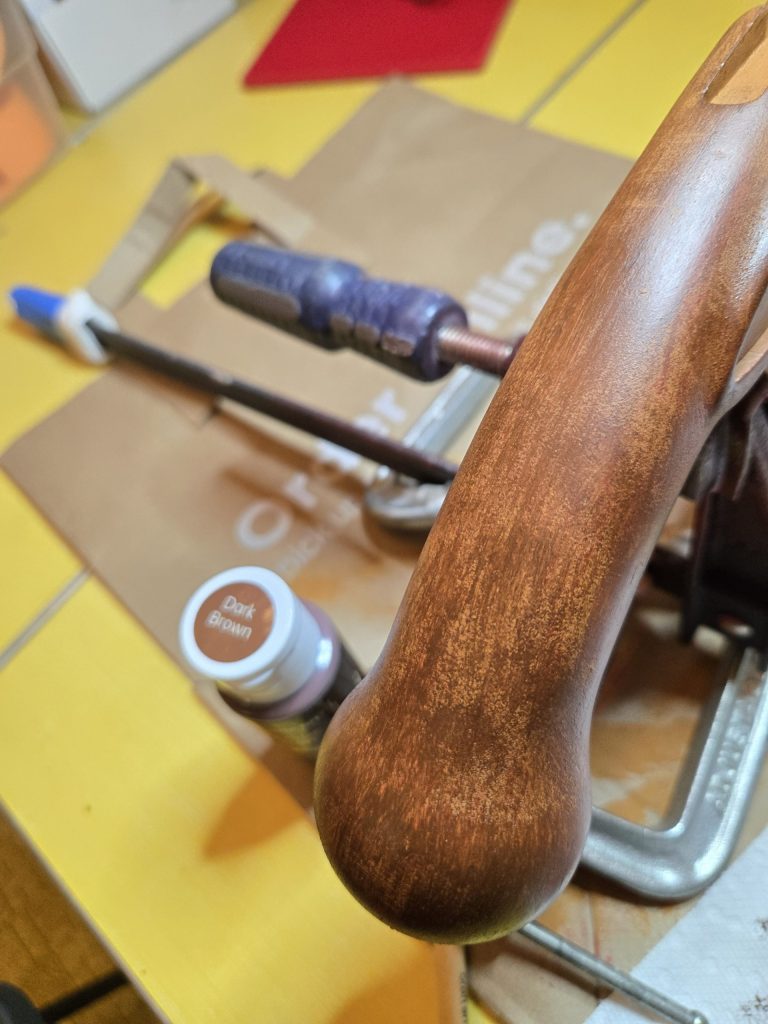
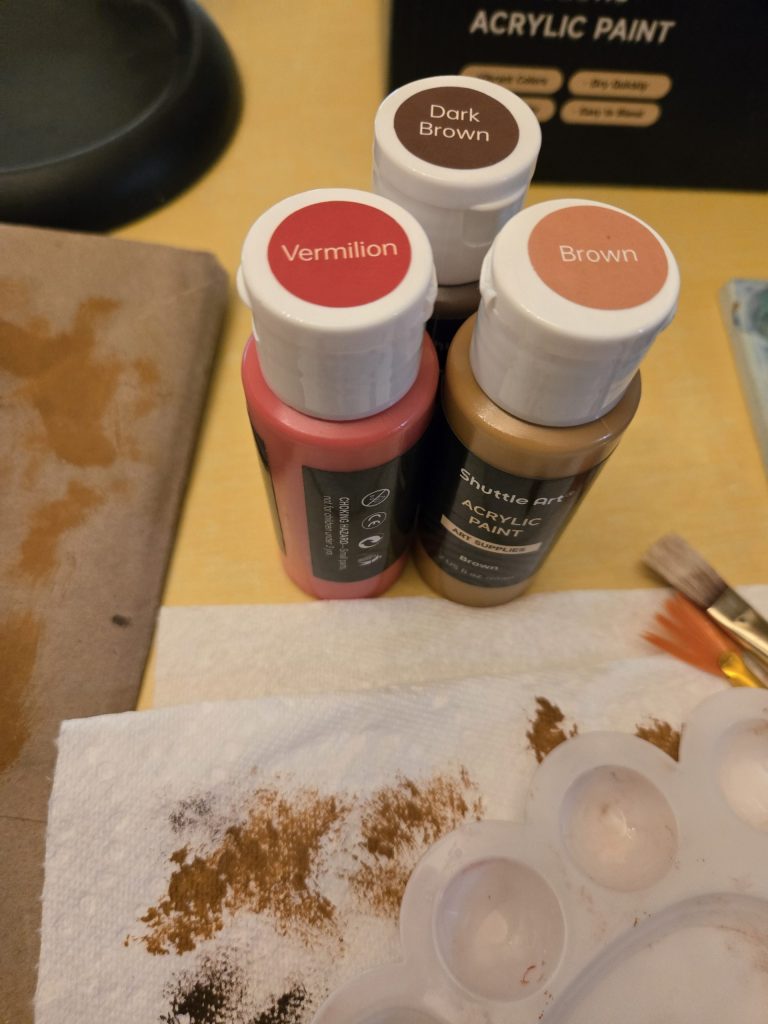
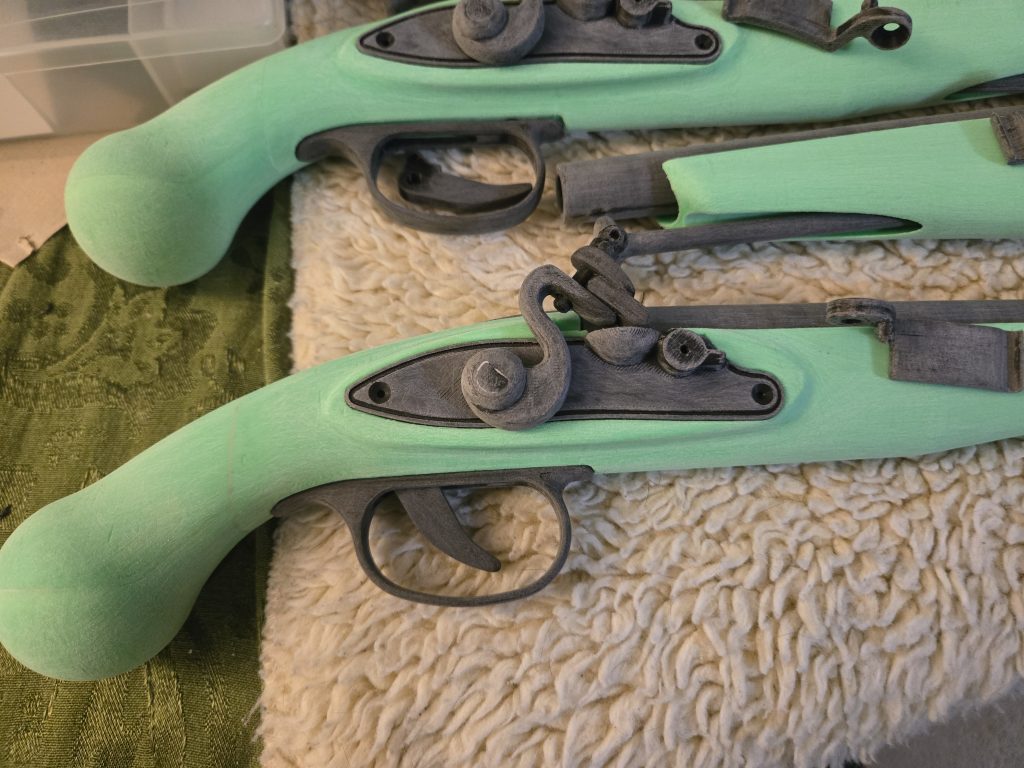
Once I have everything I need ready it’s time to start. I used a light caramel brown paint and primer in one and let dry 24 hrs. Next I take a raggy brush and a light brown acrylic paint. Mine happened to match the base almost exactly but you can start with a different color or lighten/darken the light brown a touch to give another shade. I would get some paint on my brush, dab/wipe most of the paint off onto a paper towel and then do light strokes all in one direction from the ball to the tip of the barrel shaft. They don’t have to be straight, they don’t have to be perfect, just envision how wood grain looks and just go with the flow. I first did in the light brown, then the Vermilion and finished off with the dark brown. Don’t over do it with the Vermilion and I used a fan brush for the red to make some more deliberate lines and highlights/streaks, then use another dry cleanish brush to blend it a little but always in the same direction. Waiting for it to dry between colors then I finish up with the dark brown again just lightly dry brushing in streaks. If you mess up or feel like one part doesn’t look right or need to sand it’s ok just clean it up and start with ;ight brown again in just the area and then repeat the steps.
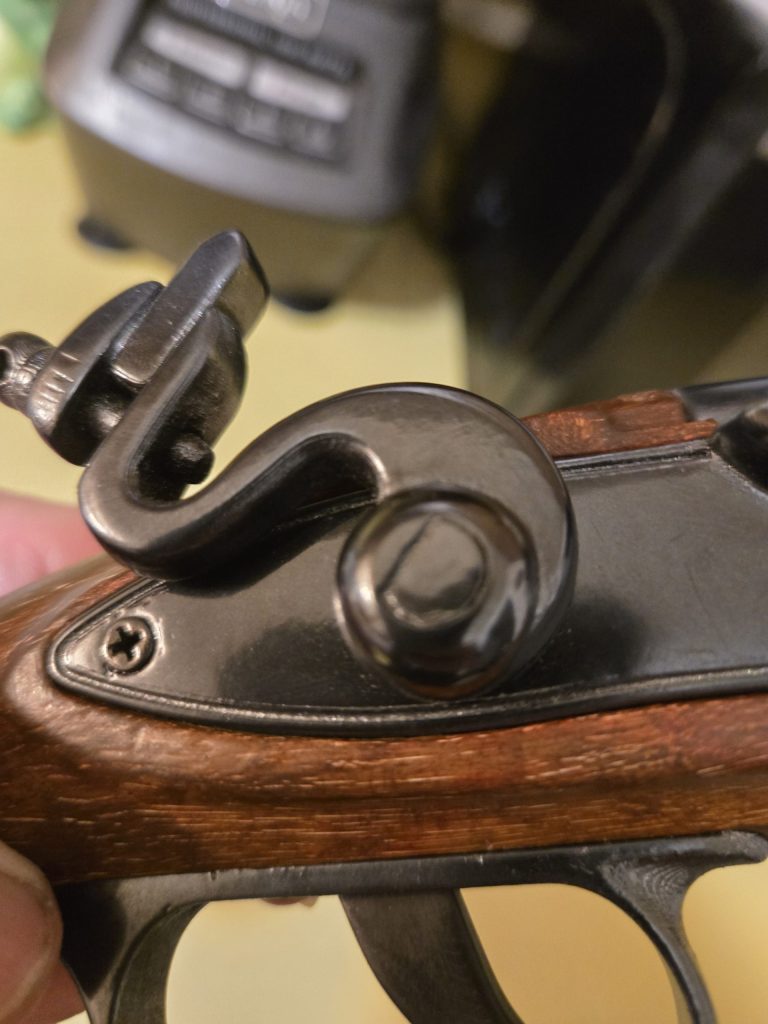

Finally the metal parts were all sanded well with dry sanding 120-400 ish then wet sanding 600-800 or more if you want. Once cleaned and dry hit them all with a coat of either black or dark grey gloss paint and primer. Wait about an hour or 2 for it to dry but helps if its a little tacky and then take a makeup triangle sponge and rub in the graphite power. Kind of buff it in in circles as you can and the more layers the better the finish so doing it 2 or 3 times will give it a better finish.
And thats about it.
Here is a list of parts with affiliate links to the stuff I used. If you buy something I might make pennies…Yeah me…you have been warned
Basics
Filament Elego PLA+
Sand paper Variety
Masks
Gloves
Faux Metal List
Graphite powder
Black Gloss Paint and Primer
Makeup Sponge
Faux Wood List
Acrylic Paint
Caramel Spray Paint and Primer
Extra parts
Wood Screws
Stiff metal wire or wire hooks